After being on Etsy for a little over a month, these are a few things that I have learned that would have helped me in the beginning. I'm not saying that these are things anybody needs to do, they are just things I have come to realize.
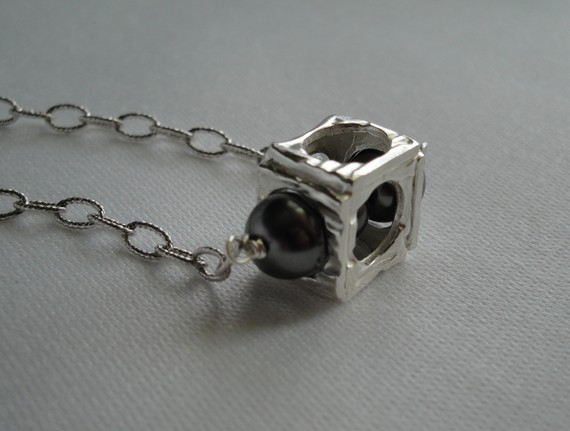
1. You need a decent camera to take a decent picture. Now I'm not saying you need one that costs hundreds and hundreds of dollars, but you do need one that takes a nice clear picture, and depending on what you are taking a picture of, it may need to have a fairly high optical zoom. I started with our 3 year old rugged/water proof camera that only has 3x optical zoom, and boy did I have troubles. There's nothing worse then having a finished item you can't wait to list, and you can't take a good/accurate picture of it! Recently we got a Canon with 10x optical zoom for a decent price, and I was so excited when I took my first pics with it, you'd think I won the lottery - I didn't have to spend 20 minutes trying to get the picture to look right!
The most important reason why you need a decent camera that can take a good picture is simple. You want to sell the item to somebody, and all they have is the picture to decide whether or not they will buy the item. If they can't accurately see the item in the picture, the likelihood of them taking the chance that it might be what they want and buy it, is pretty slim. At least I know I wouldn't. Which brings me to the next item...
2. If you don't have good lighting in your house, you need a light box. If your house has bad lighting like mine (I get about 1 hour of good light at midday in my kitchen before the house next door blocks the sun), you need to set up a light box. About two and a half weeks into my Etsy adventure, I came across the book
Crafty Superstar , by Grace Dobush. While flipping through the pages I came across a diagram of a lightbox, and it was like somebody hit me with the book! Here I was spending all this time trying to redirect the light, or dim it to make the shadows go away when I should have been pointing the lights right at the item. Excited once again I raced home and tried it out. I noticed a huge improvement in the pictures (despite still using the old camera at the time), but they still looked a little yellow or warm. At the time I was using 2 ott-lights and one table light. What I realized was that that one light affected the whole picture. So I tracked down and borrowed another ott-light, and set it up. WOW! Yeah, there was that much of a difference.
Now I realize that not everybody has three ott-lights (I got mine on sale for super cheap), but there are other lights that will work, they just need to be a natural light source. If you are new to the light box idea, as I was, just do a search for 'how to set up a light box'.
3. Run the numbers. The last thing you want to do is spend hours making something that you can only sell for $15, and $5 of that is your cost. When setting the price for something you have to be realistic. Do a little bit of searching on Etsy and see what other people are selling similar items for, and determine if it's worth it to sell. We are at disadvantage living in Canada in that the cost may be higher for us than somebody living somewhere else. If you have to list your item on the high end of the price range because of your cost, then you are dependant on the first two things I learned, as you will need to prove to the potential buyers that your item it worth more than the other less expensive items.
4.Shipping. Ah shipping, the bane of my existence. There is no good way around it, Canada post is expensive. If you think something will cost $5 to ship, double that, triple it if you are mailing it to somebody in Canada. I do not understand their justification in this (and I've already had a few rants because of it), but there is no way around it. As I have some stuffed toys on my site, this is something that I learned the hard way (all my $$$ went to shipping an item I sold :( ). Now what I have done in some cases to circumvent this is increased the price of the item slightly, and have what I think is a reasonable shipping rate. I feel, for example, that a buyer is more than likely to buy a $15 item with $5 shipping, than a $10 item with $10 shipping. This of course is how I feel, and there has to be a few other people out there that have the same thought.
Finally, the last important thing I have learned.
5. Start a blog. I really resisted this one. Everywhere I went I kept seeing this pop up, and I was really not wanting to. Then one day I realized why you needed to have a blog. If you have a blog and write about the ideas behind the items you make, this gives the buyer the sense that they know you. They have the opportunity to see behind the scenes at how you come about your creations, and can see how much thought you put into them. This will also benefit you in that you can promote your Etsy shop, give away coupon codes for Etsy, and promote new things that you are working on before they are actually listed. At least these are things that I have read about - so far I've just put a bit of history about my items.
I know this is pretty long. There are other things that I have discovered and learned in the last little while, and I am far from knowing it all. Maybe some of these things are useful to you, maybe not. Just thought I'd share the thoughts that are rolling around in my head.
Thanks for reading!


 Tucked around the corner from Cre8tery Gallery and Art Supply store at 312B William Avenue in the Exchange District of Winnipeg is ArtsJunktion Recycling depot. ArtsJunktion mb Inc. is a community-based, charitable organization committed to redistributing reusable materials.