Eggshell Candles # 2
We are going to use the whole shell of the egg for this. However we don't want the insides. With a pin, carefully poke holes in the top and bottom of the egg, enlarging the holes to about 1/4" wide.
Over a dish, blow into the egg. At first you will need to use a bit of force, but when the egg white/yoke starts flowing it will be much easier. Save the insides for future baking.
Rinse the egg shell well, and let dry completely. Cut wick to size, leaving lots of extra length. It is easier to trim the wick later than to work with wicks that are slightly too short. Prepare the wick like we did last time in Part 1, dipping the wick into the melted wax, cooling for a couple seconds, then pulling straight. Insert the wick into the eggshell: having a slightly stiff, straight wick make this a lot easier.
Cover the "pointy" end, or the side you want to be facing up, with your putty. Be careful not to break the egg shell; it is hollow now and much more fragile. It helps to roll the putty a bit to warm it up and easier to work with that way.
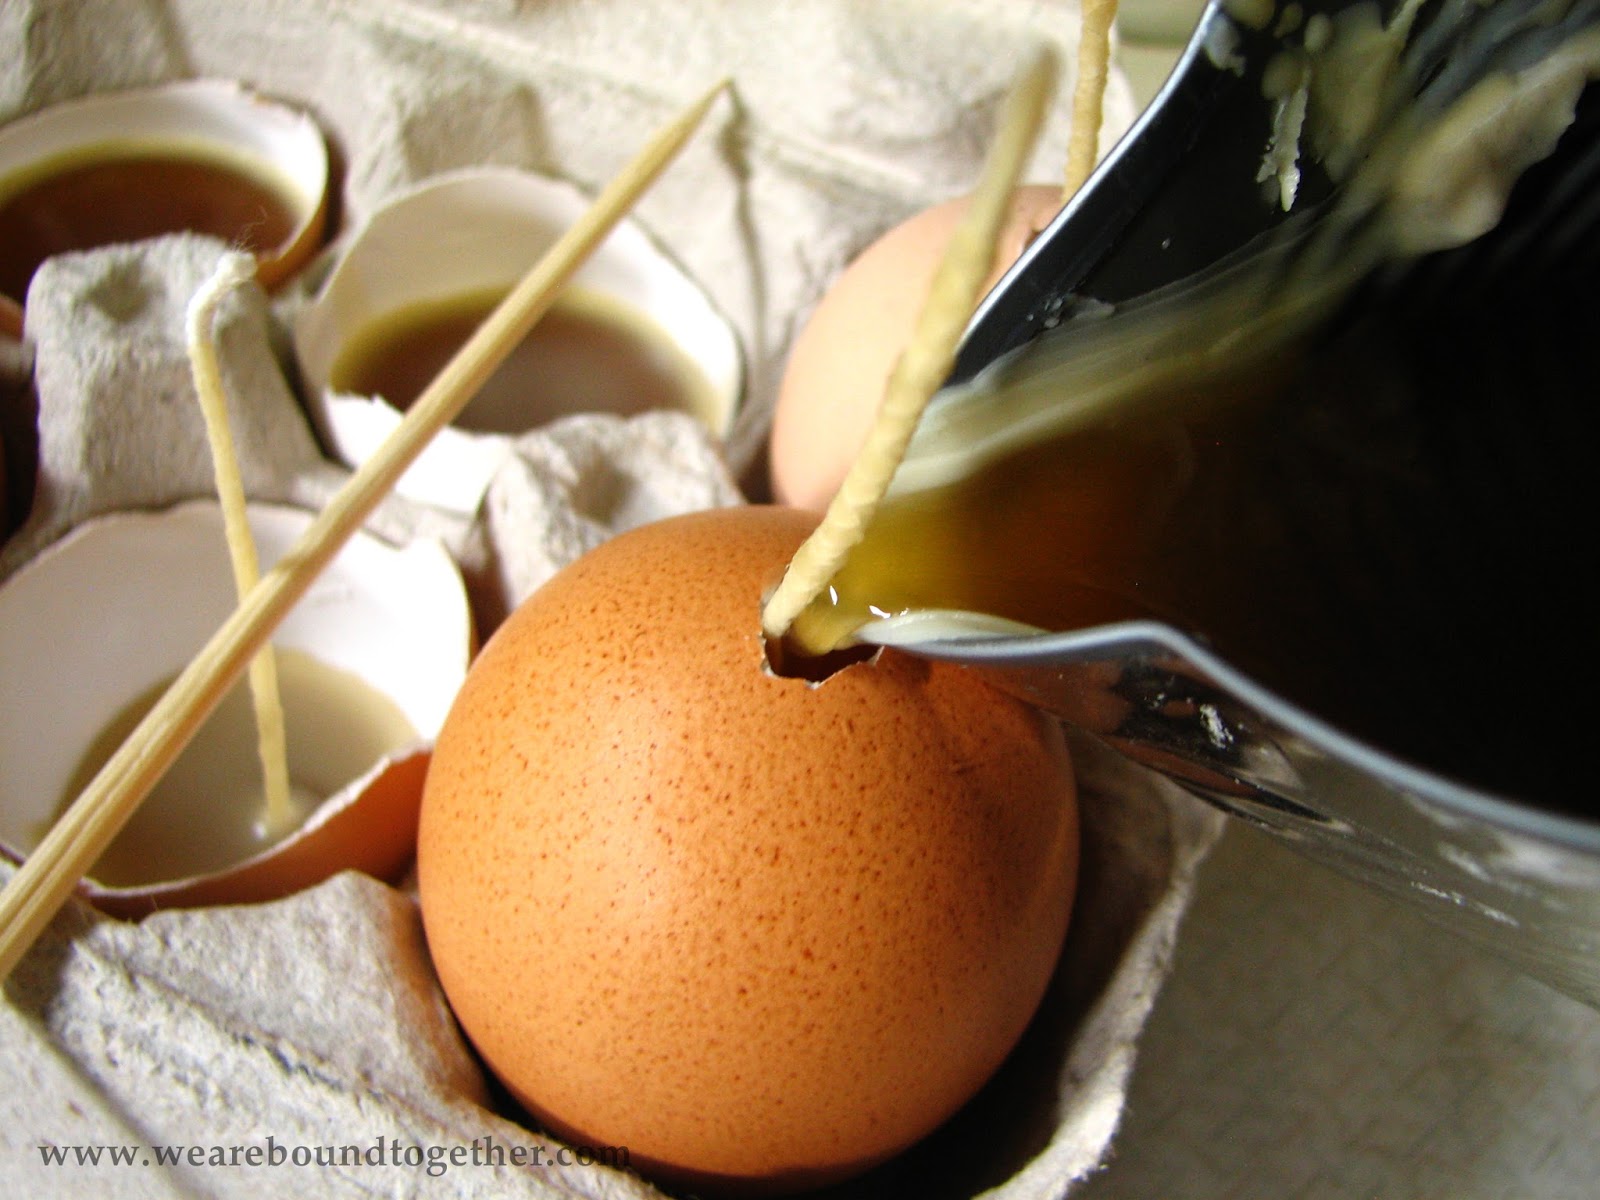
Place the egg, putty side down in your egg carton and fill with wax. You will want to make sure to fill the egg all in one go, not letting it cool in layers, or you will get ridges or lines in your final candle. Eggs hold a surprising amount of wax, but pour slowly because once it reaches the top it can make quite a mess.
Let cool completely. The egg itself will feel warm for quite a few hours afterwards. It is best to wait overnight to make sure all of the wax is hard. Once fully cooled, gently peel back the shell of the egg to reveal your candle.
If desired, you can flatten the bottom by trimming or rubbing on a hot pan, to allow it to stand on its own. Or you can display in eggcups. Be sure to trim wicks before lighting.
This post is written by Andrea Davis and originally appeared on www.weareboundtogether.com


No comments:
Post a Comment
Thanks for stopping by and leaving your comment!