
This one originally appeared on Tawny Bee's blog The L-T Experience.
These Upcycled Patchwork Baby Bibs would make terrific baby shower or birthday gifts! And are a great way to use up some of your old baby garments :)
-------------

What to do? What to do? ... with that huge pile of clothes that aren't nice enough to give away, but you still don't want to throw out? You know - the ones with holes, tears, mysterious stains in only one spot? Or possibly those teeny tiny baby clothes from when your little one was 3 months old and wasn't eating and making huge messes yet?
Make them into the pretty/handsome bib pictured above of course!
Time Needed: It takes under an hour to make a bib or two
Sewing Level Needed: machine sewing with straight and zigzag stitch
Supplies Needed:
- printable baby bib pattern (available for free download)
- upcycle material in 2-5 different patterns
- backing fabric (0.25 metre)
- quilt batting (0.25 metre)
- matching or contrasting thread
- reclaimed or regular snap, or Velcro for closure

Step 1:
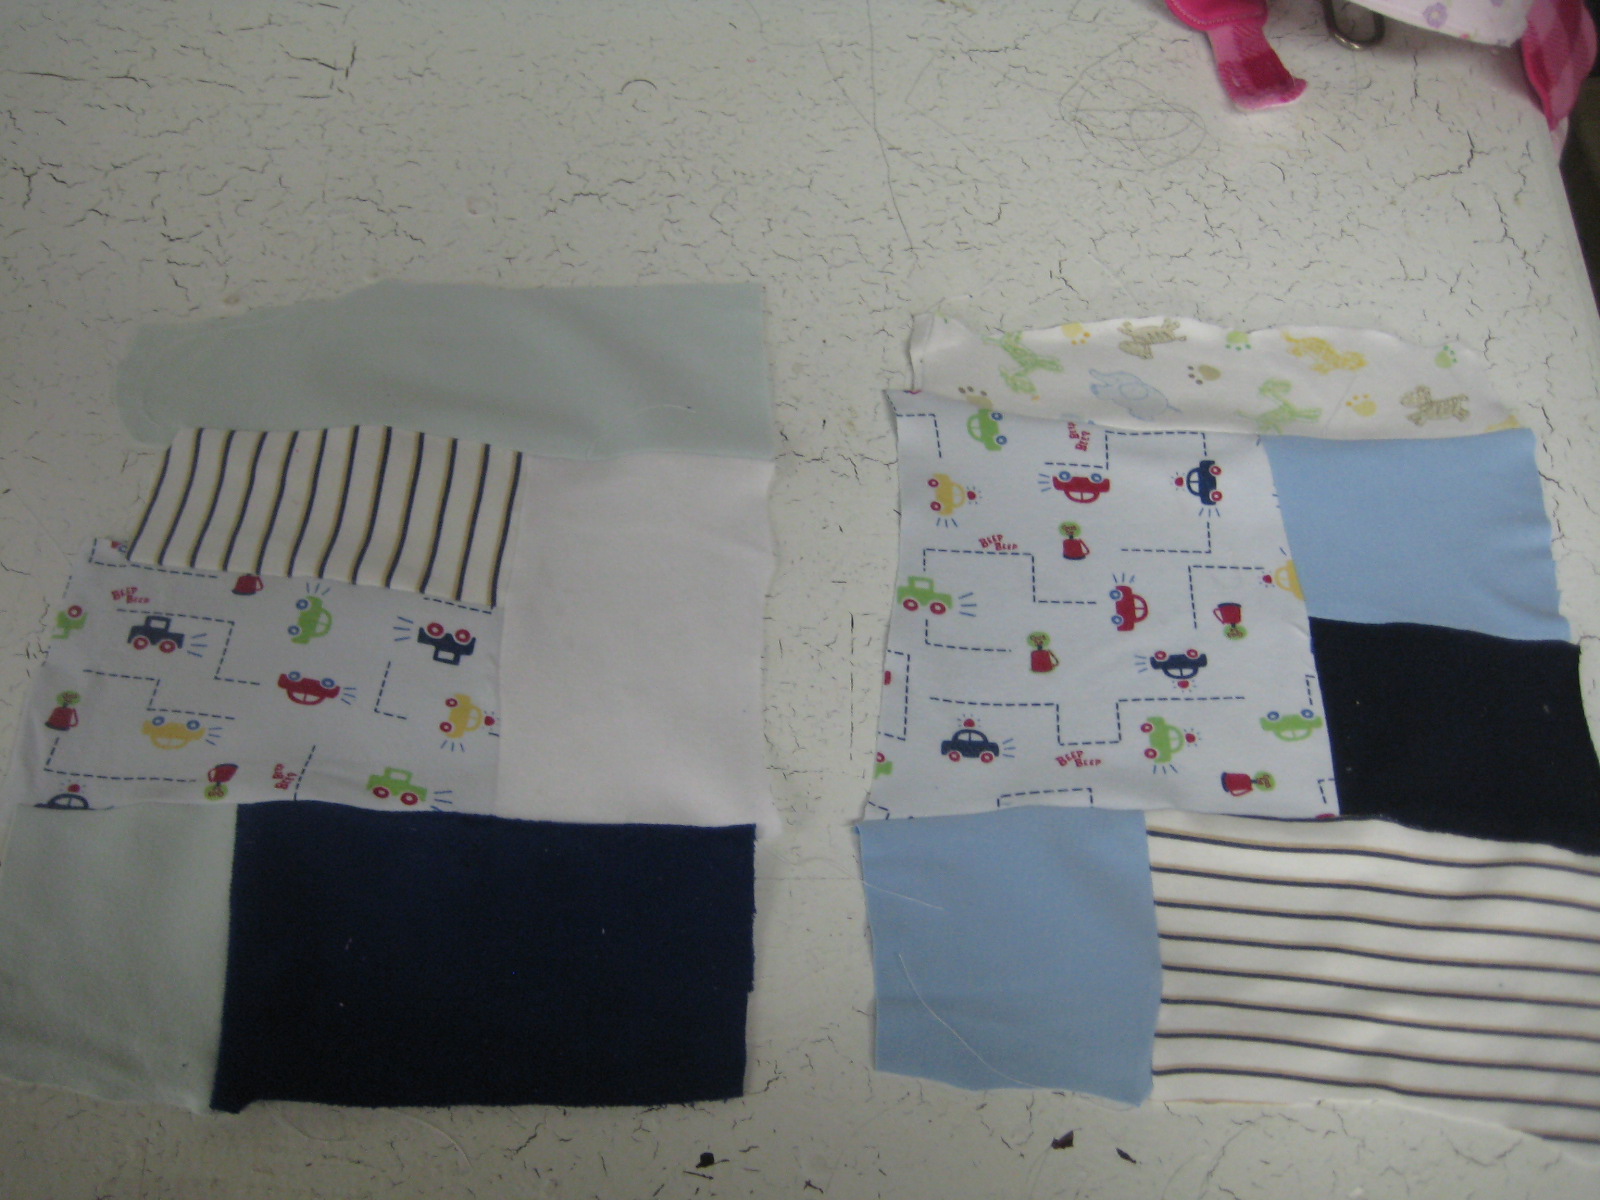
- cut out "squares" (or "rectangles" or whatever shape you like) from your upcycle material. The bibs pictured above came from a few pairs of baby jammies and a couple of onesies.
- assemble the basic rectangle of your bib. The bib measures about the size of a regular piece of paper (8.5 by 11 inches).
Step 2:
- sew the pieces together. The rectangle doesn't have to be perfect because you'll be cutting it into a bib later.
- press it out so that it is flat.

Step 3:
- download and cut out bib pattern
- lay out your backing fabric (right side down) on the table. Then place your quilt batting on top of that and then your patchwork piece (right side up) on top of that. The fabric sandwich will be placed in the same way the bib will be structured. So backing fabric with the pattern to the outside, then quilt batting in the middle and then main patchwork piece on top.
- pin the pattern piece on top of all three of the pieces.

Step 4:
- cut around the pattern piece through all three layers. You will get a nice bib shape like the one pictured above.

Step 5:
- put the backing fabric piece aside for now. We'll use it later.
- take the remaining 2 pieces (the main patchwork piece and the quilt batting) and pin them together as pictured above.

Step 6:
- Quilt these two pieces together in whatever fashion you like. I enjoy sewing a zigzag stitch over top of all the seams. It looks nice and give it a bit of decoration without being too difficult. Using contrasting thread adds a nice touch as well.

Step 7:
- take the backing piece that you set aside and pin it (right sides together) to the main patchwork piece (the quilt batting should now be quilted onto the back of this main piece.

Step 8:
- sew around the bib making sure to leave about 2 inches open somewhere along the bottom or sides for turning. I sew close to the edge, but a 1/2 inch seam is fine too.

Step 9:
- turn the bib right side out.
- pin the hole closed.

Step 10:
- zigzag around the edge - all the way around. This will close the hole while you stitch and add a decorative edge.

Step 11:
- add a closure of your choice. I reclaimed a snap from one of those pairs of jammies that I upcycled for the bibs and stitched that on. Velcro or a regular snap would work just as well.
******
The two bibs featured above are available at Tawny Bee if you don't want to make them for yourself.
As always, this how to is for you to do whatever you please with it. Make these bibs for your babies, your friends' babies, sell them, or whatever you choose! :D
****
Here are a few other Upcycled Patchwork Baby Bibs that I have available at Tawny Bee:


very cute!
ReplyDelete