Showing posts with label upcycle. Show all posts

Wednesday, February 17, 2016

WESTie Wednesday : ft Little Big Ideas

WESTie Wednesday with Wayne Reimer and Eliza Pescador of Little Big Ideas!

Welcome to WESTie Wednesday, where each week we get to know a proud WEST member and their Etsy shop! Learn about Wayne and Eliza and their shop Little Big Ideas.


"We are a father daughter duo from Winnipeg, Manitoba. Little Big Ideas uses reclaimed wood and other salvaged materials to create stylish, functional and unique home decor and jewelry organization items. We work together to create designs, find materials and come up with finished products!" 


"Right now our Etsy shop displays most of our smaller home decor and jewelry/makeup organizers, which are easier to ship than some of our larger jewelry display units. Most of our materials are either given to us by friends and family or people who need to get rid of old wood and furniture, or purchased at the Habitat Restore. We create these items in our family garage!"


"We sell home decor items including wall decor and shelving, makeup and makeup accessory caddies, jewelry boxes and display units, technology stands and several other unique items! We are always searching for new ideas so our products can diversify. Our demographic is generally women in the age rage of 20-35, however we have found some of our home decor and technology stands to be quite popular for men too!"


We asked Wayne and Eliza “Why Etsy?”"About a year ago we started selling at local craft markets and really enjoyed this! We were already familiar with Etsy and decided it would be a great idea so we could share Little Big Ideas with people who didn't live in Winnipeg!"

Want to see more? Be sure to check out Little Big Ideas on social media:


Tuesday, February 3, 2015

Tutorial Tuesday: Easy Vintage Postcard Wall Hanging

Tutorial Tuesday: Easy Vintage Postcard Wall Hanging


As a teenager dreaming of traveling the world, Amy of ehmeelu started to collect postcards...

I loved everything about them - the cool retro typography on the mid-century ones, the handwritten messages giving little snapshots of half-forgotten trips, the colourful stamps, the kitschy photos of every type of man-made and natural landmark you could imagine!


When I got older and actually moved to and from Asia, I didn't keep many personal items...moving by airplane has a way of whittling down your belongings! But somehow that postcard collection just kept growing. It seemed a shame to keep it in a box, so with the current trend of 70's style wall hangings in mind, I came up with an easy display idea.

pwh supplies.jpg


All you need to create your own vintage postcard wall-hanging is…


  • a handful of postcards
  • some paperclips
  • a thin dowel to suspend them
  • a sturdy darning needle (to poke holes in the postcards)


pwh layout.jpg

First, choose your postcards. Remember you want to display some of the backs too. Do you have cards with interesting handwriting, or messages from people you know? I chose eight postcards with a retro Canadian theme, including two with messages addressed to my grandparents! My dowel (a lonely wooden knitting needle) was just long enough to hold two columns of postcards.


Once you are happy with the layout, carefully punch holes in the corners of the postcards with the darning needle. I placed them 1 cm in from the sides and 0.5 cm from the top and bottom edges. Every card needs a hole in all four corners, except the two cards that will hang at the bottom, which do not need holes in the bottom edge.


pwh paperclip.jpg     pwh measure holes.jpg

It’s easy to measure the position of the holes on the first postcard only, then use it as a guide to punch the rest of the holes.


Now thread a paper clip through the holes to join the postcards in the layout you have chosen.

pwh finished.jpg


The paperclips at the top of the layout will just slide onto the dowel. If the dowel is a little too thick to easily slide them on, just bend the paperclips open a little wider, and squeeze them tight once the columns of postcards are positioned the way you want them on the dowel.


You’re done! Now hang your vintage postcard wall hanging anywhere a wall needs a little colour or sense of adventure!


...project by Amy Anderson, who after living in 8 apartments, 4 cities, and 2 different hemispheres, has done a lot of creative shoestring decorating!


Find Amy’s knitting at ehmeelu.etsy.com

@ehmeeluknits on Instagram.

Wednesday, January 14, 2015

WESTie Wednesday - featuring Heidi and Seek Boutique

Welcome to WESTie Wednesday, where each week we better get to know a proud WEST member and their Etsy shop! Let's catch up with Heidi, the creator behind everything Heidi-and-Seek Boutique!


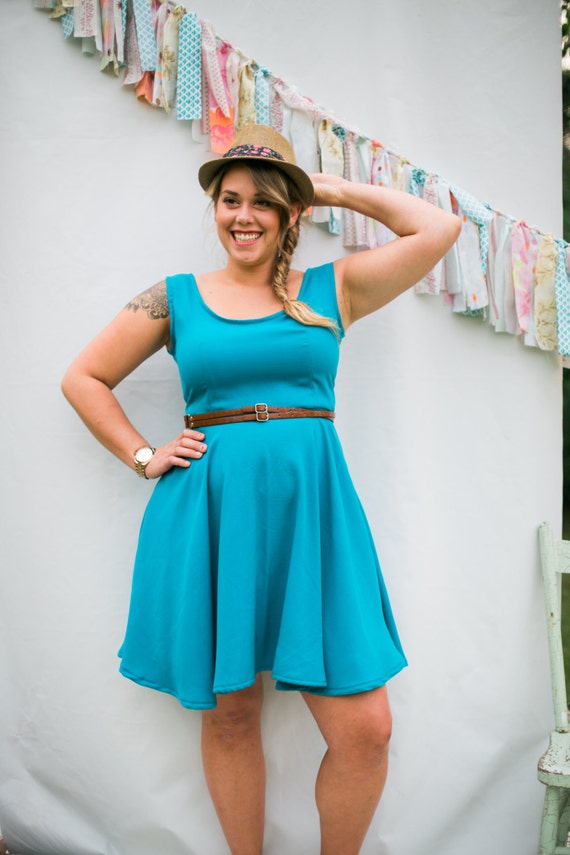
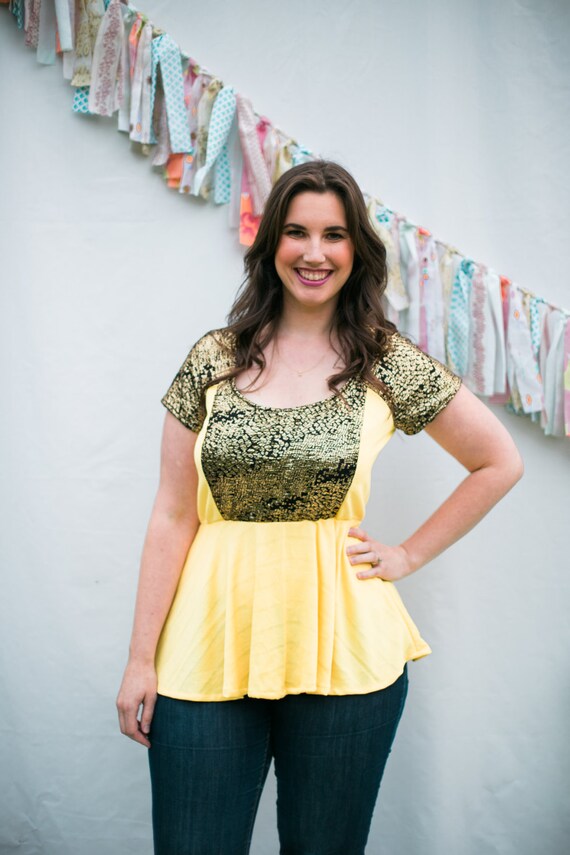
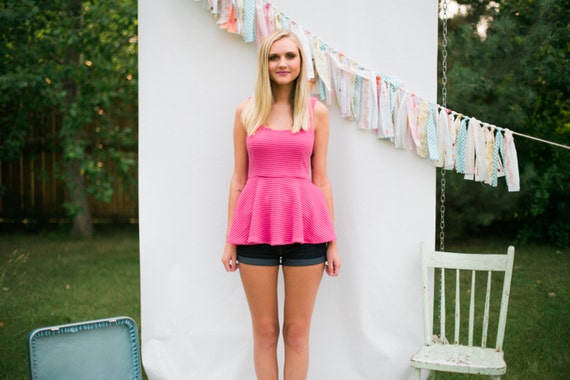
"I'm in the business of creating new things from previously used materials, turning them into fun pieces of clothing and accessories!! In my shop right now you will see my vintage inspired peplum tops as well as a few of my signature Heidi Hoods! Each item is unique and usually one-of-a-kind since I only use previously used material. All materials are purchased second-hand to create less waste, washed clean and dried to prevent shrinkage. I create in my home where we have turned our second bedroom into my sewing studio!"


"I sell handmade clothing and accessories. The Heidi-and-Seek Boutique girl is young at heart, loves color and fashion and looks for something unique to add to her wardrobe!"


"My goal is make a living doing what I love, and Etsy is a really great outlet for being able to share my brand with the world!"


Visit Heidi and keep up with her latest creations, by visiting her Facebook page here. She also keeps you up to speed on a real cute blog, here!

Sunday, January 4, 2015

Customer Service Sunday

Customer Service Sundays • How WESTies go the extra mile for you makes all the difference! • A new installment to WESTs posts, look forward to learning about the care that goes into each handmade or curated item from your favourite WESTies. 


Did You Know? Caitlin of Real Swanky hand writes a personalized thank-you note for each order, carefully bubble wrapping each embroidered piece with 3 of her snappy business cards? Parcels are wrapped with cute upcycled/thrifted kraft paper, to boot. Custom orders are happily welcomed with a turnover rate of ~5 days! Rest easy knowing your orders from Real Swanky will find you poste-haste in one piece!


Visit Real Swanky on..

Sunday, April 13, 2014

Earth Day Design Challenge Entries

The theme for the latest WEST Design Challenge was Earth Day. WESTies were encouraged to design or curate something  focused on re-using, recycling, up-cycling and reducing our impact. 

Here are all of this month's entries, in order of submission. There is a poll at the end of this post. VOTE for your favourite submission! The poll will be open for one week, and the winner will receive a special spot of recognition on the blog until the next design challenge!

Dayle from vbling says: "I [was] very excited about this design challenge and got to work right away with something I've been wanting to make for ages." Her lovely necklace is already sold!


Krista from KristasJewellery says: "I bought a pair of earrings a while ago and never ever wore them or knew what to do with them so I took the aluminum charm off of one of them and made it the focal point of this necklace. I used three Picasso jasper stones as they are an earthy green and felt that they went well with the classic black and white of the pendant."


Laura from PrairiePeasant says: "These miniature book necklaces are made from recycled leather, vintage buttons and offcuts of paper from larger projects. I have been wanting to work more with leather and these little mini books are the perfect project to start off with. All the leather I have is either scraps salvaged from various sources or garments that friends have given me, knowing that I might be able to use the leather in some way."


Lisa from BitchinKitsch'n'Kitchen says: "This Earth Day, celebrate by whipping up a nice, fresh batch of home-squeezed juice! Perfect for oranges, lemons, limes, or tomatoes! This fantastic juice press has survived since the 1930s, and has many more years of life in it."


Andrea from WeAreBoundTogether says: "The wood that covers the book are from salvaged scraps and leftover oak wood. Wood is sanded smooth and lightly finished with non-toxic danish oil which retains the natural colour of the wood. The script has been hand burned with a pyrography pen. Working with wood has been a rewarding experience, I love the earthiness and feel of wood and that these pieces are no longer in the back of a scrap pile."


Vote for your favourite design challenge entry on the poll below. Only one vote is allowed, so be sure to choose your fave!

The poll will close in one week on Sunday, April 20, at midnight, and the result will be posted on Earth Day. The talented winner will receive a spot of recognition on the WEST blog until the next design challenge. 

Sunday, March 9, 2014

Earth Day Design Challenge

We're all hoping spring will be here soon; what's better than another design challenge to get us thinking about flowers blooming and trees turning green! Earth Day is on April 22, this year, so let's use that as our inspiration. The theme is here on the blog and the WEST forum on etsy. Take this inspiration in whatever direction your imagination leads. The goal is to challenge yourself, be inspired and enjoy the creative process!


Recycled Floppy Disc Notebook from WeAreBoundTogether

As you think about the theme, add comments to the discussion thread on Etsy about your process. Take pictures of your process and the finished item and post them in the discussion thread when you are done. It's interesting and inspiring to others to hear the story about how you arrived at your finished product, so go ahead and share a few comments about your process! The results of the challenge will be posted after the deadline, and then voting for your favourite will commence. 

Recycled Vintage Maps Button from PeriwinkleDzyns

Bohemian Oval Coiled Mat by PrairieThreads

The new theme for this challenge is Earth Day! Re-using, recycling, up-cycling and reducing our impact are all great angles for this challenge. Will you turn that old t-shirt into a new grocery bag, maybe you'll find remnants of fabric and make a light spring scarf, what about just finding a fabulous vintage piece to add to your home decor? I know we all love mixing old things with new to achieve the perfect look. You've got a whole month to come up with your design ideas and create. The deadline for this challenge is Friday April 11, with the entries being posted on Sunday April 13. When the entries are posted, you can vote for your favourite entry. The winner will be announced on Earth Day and featured on the blog side bar until the next design challenge. 

Fabric Flower Necklace from Heidi-and-Seek-Boutique

A few notes:
Create something new, especially for the challenge. Entries for each challenge must be finished by the posted deadline. Vintage and supply sellers are welcome to participate too, with a focus on artful photography and careful choice of item.
Happy designing! I hope this challenge and the few ideas I found in WESTie shops inspire you!
Ready... Set... Get Creative! 

Wednesday, April 13, 2011

Treasury: Earth Mama

I created a treasury on Etsy today entitled: Earth Mama

Mother's have a wish to leave a beautiful, sustainable, healthy earth behind for their children and grandchildren after them to enjoy. Here are some eco-friendly and mother nature celebrating products for mamas to ensure their wish is granted. (All products are handmade by the wonderul and talented team W.E.S.T).

In celebration of both Earth Day (April 22nd) and Mother's Day (May 8th).

I chose my favourite items in orange, brown, and red for this particular treasury. Very earthy don't you think?


Click the photo or click here to view this treasury.


Tuesday, January 18, 2011

Tutorial Tuesday: Cozy Upcycled Fabric Earmuffs


It's cold out there! And it will be for at least another 2 months here in Winnipeg, Manitoba, Canada. So I might as well be warm and fashionable, and use up some of my upcycling pile while I'm at it.

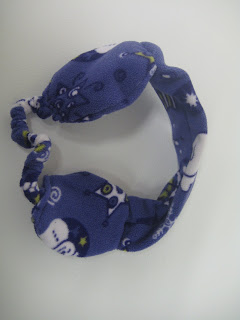
These cozy fabric earmuffs are fun and fashionable! And they don't have any of those awful plastic pieces that bite into my head and pull out my hair when I try to take them off.

Wanna make a pair for yourself or perhaps gift a pair to a loved one?

Fit:
Adult size medium. They fit me and they stretch to fit a bigger head with bigger brains too!

Time Needed:
About a half hour.

Skill Needed:
A little tricky with the elastic and sewing the earpieces to the headband. I'd say about medium skill.

Supplies Needed:
- About 0.25 metre of fabric (I recommend fleece for cozy comfort - an old sweater also works wonderfully)
- Scrap of Quilt Batting
- 4 inches of elastic (I use scraps that I pull from various "to be upcycled" clothing)
- matching thread
- 2 safety pins
- free downloadable pattern - located here

Step One:
Download the pattern PDF and print. I apologize for the lightness of the ink. I couldn't find my marker and then I had a whole thing about getting my scanner to work with my new OS. Bleh. If I get in the mood to figure out how to darken it (or find my marker) I'll fix it.
Cut out 1 headband piece (on fold) from chosen fabric
Cut out 4 Ear Pieces from chosen fabric (you can use fleece for inside and decorative fabric on outside if you wish)
Cut out 2 earpieces from quilt batting
Cut out 1 (on fold) of bottom band from chosen fabric
Use the bottom band piece to measure how much elastic you need - this time, don't cut on fold. It should be close to 4 inches.


Step Two:
Fold both the headband piece and the bottom band piece in half lengthwise. Sew along the long edge. Use a safety pin (or your own desired method) to turn both pieces right side out. If you'd like a puffier look to your top headband piece, you can use a piece of quilt batting on the inside as well.


Step Three:
Layer the headband piece, the earpieces and the quilt batting in this order.
One earpiece (right side up) - this would be the piece you intend to be on the inside (touching your ear)
The headband piece with the seam in the middle facing down
One outside earpiece (right side down)
One piece of quilt batting

Repeat for the other side of the headband.

You'll get something similar to the picture below. Make sure everything lines up and that the earpieces are all placed together with the headband piece as shown.


Here's another picture from a different angle to give you a better idea of what you'll have when you pin it together


Step Four:
Starting close to where the headband piece and the earpieces match up (along the bottom of the earpieces) sew carefully around the earpieces, making sure to leave a hole where the headband piece is.

(Don't you just love my quick GIMP work? Hehe, not so good with the paintbrush tool, but you get the idea)


Turn the earpieces right side out using the hole you left in your stitching.


Step Five:
Carefully pin the elastic to one end of the bottom band with a safety pin. With another safety pin inserted at the other end of the elastic, carefully thread the elastic through the bottom band. The bottom band will be longer than the elastic, so be careful not to lose that elastic in there!
Without losing the end of the elastic, pin the bottom band to the bottom of the earpiece (where you left the sewing hole in the above step). Do the same with the other end onto the other other earpiece.
Stitch the hole closed making sure to capture the end of the elastic and the bottom band within the stitching. Do the same for the other ear.


Ta Da! If you can get through all that weird and funky sewing, you will have a cool pair of earmuffs!


And of course, if you don't want to try out all that weird and funky sewing, you can purchase a pair at Tawny Bee. The above purple fleece pair is available here.


I also have a sweet red checkered pair, with red fleece inner ears - available here.


You can also cut out a silly sweater, making sure to get something cool on the ears. This Bear Bottoms one is a little cheeky and super soft and warm - available here.

Corduroy also works as a great outer fabric with a soft velour on the inside of the ears. This pair is available here.

And because I believe is sharing, you can use my pattern in whatever way you see fit. You can make a pair for yourself, a friend, a gift, or make them to sell - of course I won't complain if you'd like to put "Tawny Bee Pattern" on the description of the earmuffs you sell ;) Whatever you like! Enjoy!

____

This tutorial was originally featured on my blog The LT Experience on January 13th, 2011

Sunday, October 17, 2010

How To: Upcycled Patchwork Baby Bibs

WEST is very proud to introduce fun tutorials to our awesome blog!

This one originally appeared on Tawny Bee's blog The L-T Experience.

These Upcycled Patchwork Baby Bibs would make terrific baby shower or birthday gifts! And are a great way to use up some of your old baby garments :)

-------------


What to do? What to do? ... with that huge pile of clothes that aren't nice enough to give away, but you still don't want to throw out? You know - the ones with holes, tears, mysterious stains in only one spot? Or possibly those teeny tiny baby clothes from when your little one was 3 months old and wasn't eating and making huge messes yet?

Make them into the pretty/handsome bib pictured above of course!

Time Needed: It takes under an hour to make a bib or two

Sewing Level Needed: machine sewing with straight and zigzag stitch

Supplies Needed:
- printable baby bib pattern (available for free download)
- upcycle material in 2-5 different patterns
- backing fabric (0.25 metre)
- quilt batting (0.25 metre)
- matching or contrasting thread
- reclaimed or regular snap, or Velcro for closure


Step 1:
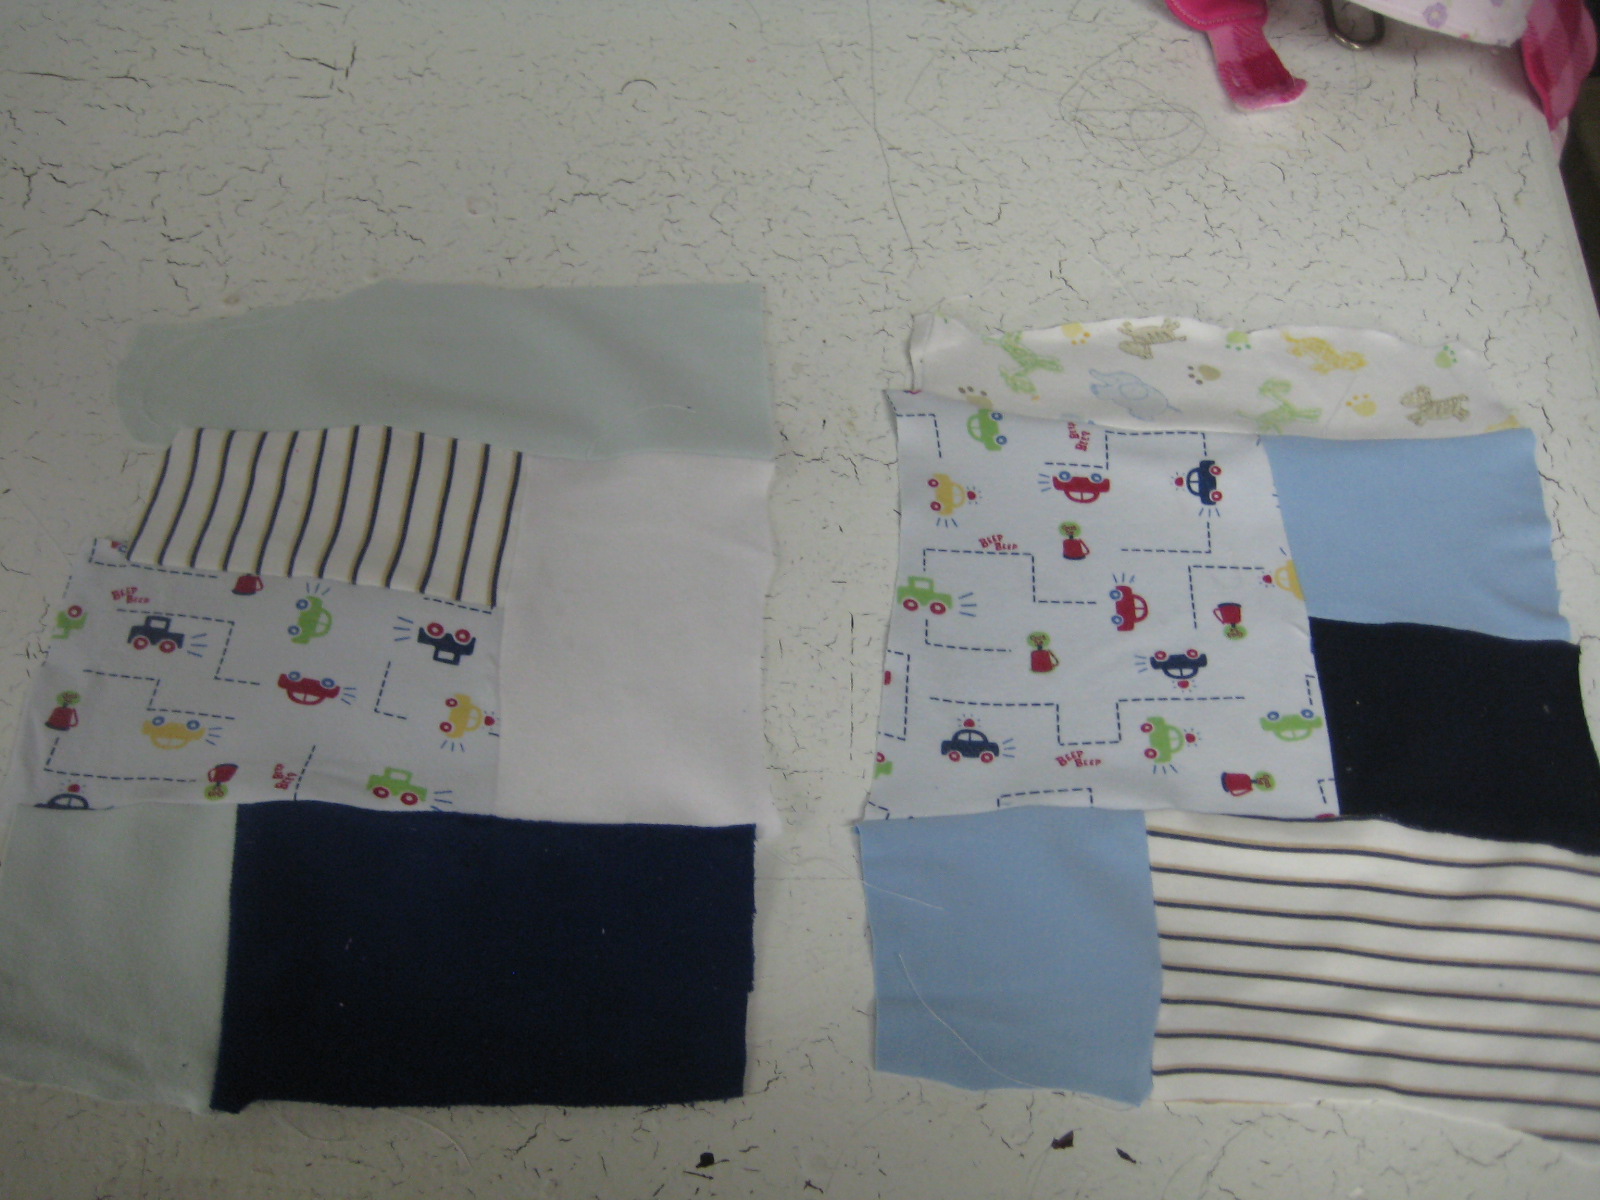
- cut out "squares" (or "rectangles" or whatever shape you like) from your upcycle material. The bibs pictured above came from a few pairs of baby jammies and a couple of onesies.
- assemble the basic rectangle of your bib. The bib measures about the size of a regular piece of paper (8.5 by 11 inches).


Step 2:
- sew the pieces together. The rectangle doesn't have to be perfect because you'll be cutting it into a bib later.
- press it out so that it is flat.


Step 3:
- download and cut out bib pattern
- lay out your backing fabric (right side down) on the table. Then place your quilt batting on top of that and then your patchwork piece (right side up) on top of that. The fabric sandwich will be placed in the same way the bib will be structured. So backing fabric with the pattern to the outside, then quilt batting in the middle and then main patchwork piece on top.
- pin the pattern piece on top of all three of the pieces.


Step 4:
- cut around the pattern piece through all three layers. You will get a nice bib shape like the one pictured above.


Step 5:
- put the backing fabric piece aside for now. We'll use it later.
- take the remaining 2 pieces (the main patchwork piece and the quilt batting) and pin them together as pictured above.


Step 6:
- Quilt these two pieces together in whatever fashion you like. I enjoy sewing a zigzag stitch over top of all the seams. It looks nice and give it a bit of decoration without being too difficult. Using contrasting thread adds a nice touch as well.


Step 7:
- take the backing piece that you set aside and pin it (right sides together) to the main patchwork piece (the quilt batting should now be quilted onto the back of this main piece.


Step 8:
- sew around the bib making sure to leave about 2 inches open somewhere along the bottom or sides for turning. I sew close to the edge, but a 1/2 inch seam is fine too.


Step 9:
- turn the bib right side out.
- pin the hole closed.


Step 10:
- zigzag around the edge - all the way around. This will close the hole while you stitch and add a decorative edge.


Step 11:
- add a closure of your choice. I reclaimed a snap from one of those pairs of jammies that I upcycled for the bibs and stitched that on. Velcro or a regular snap would work just as well.

******

The two bibs featured above are available at Tawny Bee if you don't want to make them for yourself.

As always, this how to is for you to do whatever you please with it. Make these bibs for your babies, your friends' babies, sell them, or whatever you choose! :D

****
Here are a few other Upcycled Patchwork Baby Bibs that I have available at Tawny Bee: