Showing posts with label cruelty free. Show all posts

Wednesday, December 17, 2014

WESTie Wednesday - featuring Just The Goods!

Welcome to WESTie Wednesday, where each week we better get to know a proud WEST member and their Etsy shop! Let's meet Milenna, of Just The Goods, who creates natural and affordable skin care products for everyone!


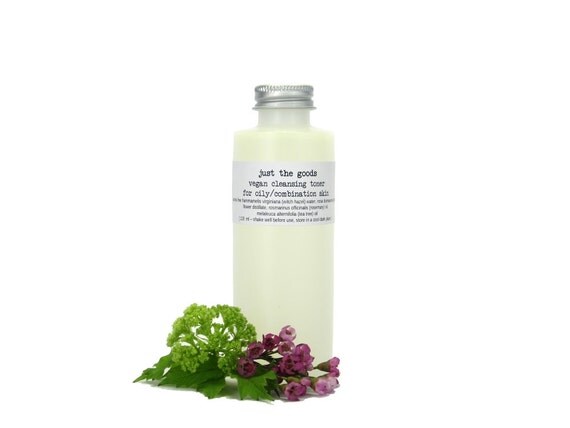
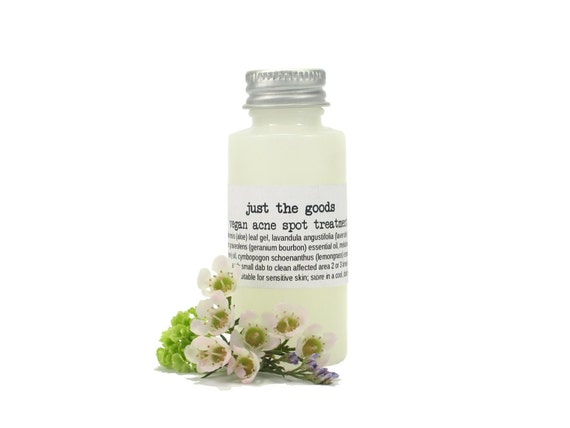
"The products are plant and mineral based, certified cruelty free, and recognized with Champion level status by the Campaign for Safe Cosmetics. I take ingredients very seriously and always clearly indicate which items are nut-free, gluten-free, unscented, etc. I also make a point of offering products that are gender neutral. And of course, I aim to keep products priced as affordably as possible. In fact, since my retailers mark up to reflect the costs associated with a bricks and mortar shop, I describe my rates I offer public wholesale =-)"

"I have an Etsy shop because its an ideal way to be encountered by people eager to discover and support unique items made by hand. I realize Etsy is a really large company itself, but as a forum for helping others connect with small scale makers, I think it's unparalleled."

"I've really enjoyed connecting with other Winnipeg makers through Etsy and WEST =-) I think we make an amazing team and I'm looking forward to everything we do together going forward =-) Thanks so much for inviting me tell you a lil' about what I do and why =-) =-)"


You can find Just The Goods on Facebook and Twitter

Tuesday, November 25, 2014

Tutorial Tuesday


Welcome to Tutorial Tuesday! With the holidays just around the corner, consider making something by hand. Caitlin of Real Swanky has a quick, easy, tutorial for making a safety razor case, with pattern included!

What you need
--Vinyl or flexible, non-fraying material - I chose this grey vegan-friendly vinyl as a leather alternative from Mitchells on Main Street, and picked up the minimal cut that is required.
-- Pen
-- Scissors
-- Sewing machine
-- Thread and bobbin
-- Printed safety razor case pattern

Instructions

1. Download the pattern HERE. Ensure when printing that it fits perfectly on a standard 8.5x11" piece of paper (check your printers settings)


2. Cut out the pattern, and trace it to the wrong side of your vinyl.


..as you can see, this is how you will set up your vinyl to sew together. Inner Flap Cover C lays atop Body A. Piece D sits about half an inch below the top of Body B.


3. Sew along the edges as seen here. If your pattern happens to slip a little, or you didn't cut it perfectly, no worries! Trim after sewing up to the point.  

4. Lay Body B on top of Body A, and sew only the bottom edge.

5. You'll notice the top layer has more width to it up top - this is to compensate for the volume of the razor that will fit in it soon enough. Line up the two edges on the left, and sew.

6. Line up the two edges on the right and sew down.