Showing posts with label paper craft. Show all posts

Wednesday, April 29, 2015

WESTie Wednesday ft. DesignMolloy!

Welcome to WESTie Wednesday, where each week we get to know a proud WEST member and their Etsy shop! Learn about Colette and her Etsy shop DesignMolloy!


"
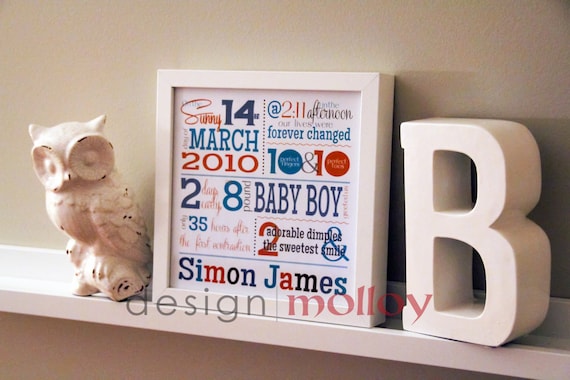
A dynamic duo is behind the scenes of design molloy. We have been friends for over a decade and despite living in separate provinces (Manitoba & Saskatchewan), we are able to work efficiently and very effectively together to create all types of graphic designs. It all started when a birth announcement caught my eye one day and I shared it with my friend Debbie. Creative juices started flowing between us and we collaborated on a unique design - a piece of art that told the story of her first born's arrival into this world. Since that first step, we have been honored with creating all types of unique designs that share important life stories! The birth of design molloy was with this flagship "birth story" and we continue to branch out with new designs. We are inspired in many ways - by our friends, family, authors, musicians, amazing Etsians and local artists, nature and the world around us. I am the primary graphic designer behind our shop's creations and Debbie provides consulting services that includes both creative and business support. The other hats we wear - we are both mommas, I am a photographer and Debbie is a consultant pharmacist. We use Adobe software to create our masterpieces and utilize DropBox, email, texting and Skype to share back and forth. Thank goodness for technology. We print in house for sizes up to 12x18" on our high quality, professional Epson printer and out source for larger sizes and specialty items such as cards, banners, wedding invitations, etc...."
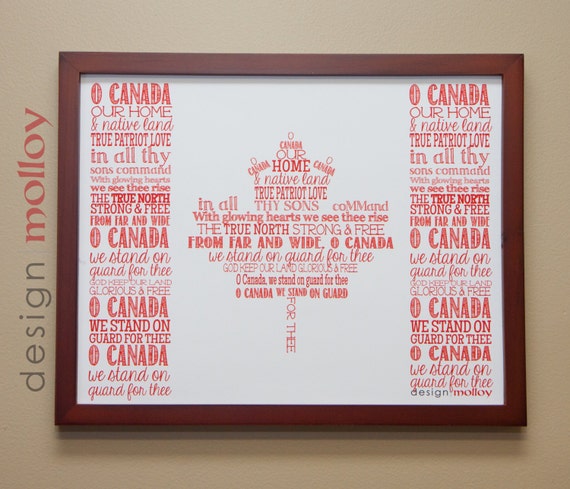

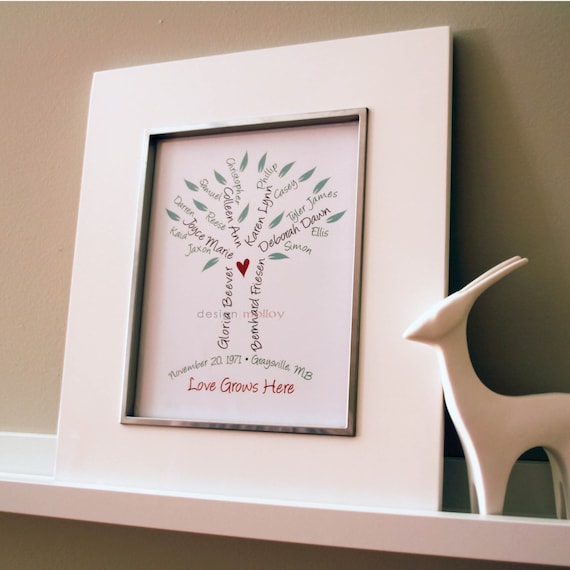
"We provide graphic design services of all types. We specialize in word art creations (typography) and enjoy creating fresh word art versions of existing business logos. We also create new branding looks for businesses, invitations of all types, cards, banners, brochures, etc... Custom projects are exceptionally rewarding for us because we are passionate about bringing your unique story to print. Our Etsy Shop houses many of our creations and the library is growing. There is a selection of family-related gifts that can be personalized to suit the client's needs (e.g. family trees, name prints, grandparent gifts). As well, we offer many inspirational quotes, nursery / children's art, poems, wedding gifts, in addition to our flagship birth stories!"


"Etsy is an excellent platform for us to share our gift-related pieces and provides motivation for us to keeping creating and listing new items. Etsy works well for our busy lifestyles and makes it easy to be two provinces apart and still collaborate!"


Want to see more? Be sure to check out Colette on social media!

Monday, June 13, 2011

Oh Canada Map Envelopes by Prairie Peasant

The second item in our Canada Day series is an envelope set from Prairie Peasant.


Oh Canada Map Envelopes 3.5 x 5

Perfect for little thank you notes, business cards or a personal message to someone special.

And made out of maps of Canada. Gotta love that!

Purchase these envelopes here.

Tuesday, November 30, 2010

Tutorial Tuesday: Paper Medallions


It's officially the holiday season! I hope everyone has been very busy filling orders and taking part in successful craft shows! For this week's tutorial, I wanted a quick project with some seasonal style. I had noticed these paper medallions in a few places, and really wanted to learn how to make them to hang in my front window. I think they will look great, along with some paper snowflakes.


Time required: 10 minutes for each medallion


Supplies: paper, cut into rectangular strips

coordinating paper, cut into circles

glue gun

paper cutter and circle cutter (makes things easier, but not strictly necessary)

glitter (if desired)


The process is very simple. Cut a strip of paper. A paper cutter is great here, because unless the edges of the strip are straight, folding will be more difficult and your medallion won't line up properly.

The width of your strip determines the circumference of the finished medallion. The wider you make the strip, the longer it needs to be. And seriously, the longer the better; make your strip at least 11 or 12 inches (28 - 30.5cm) long. I made mine 4 cm wide, and about 35cm long.


Fold your paper strip in accordion pleats, like you would if you were making a paper fan. The size of the pleats determines how many "scallops" the finished medallion will have. I made small folds, about 0.5cm each.


Now it's time to glue the strip together to make a loop. Make sure that the folds remain continuous (up, down, up down), trimming off a bit if necessary. Re-crease the edges and let the glue dry. Push the medallion flat, by gradually coaxing it into a lampshade shape, and then forcing the middle flat. This can be tricky and takes a little practice. Have your glue gun ready, and immediately glue the coordinating paper circle over the middle of the medallion. Be generous with the glue and make sure all the folds get attached to the circle. If you want to stack medallions in contrasting paper and graduating sizes, start with the smallest. As you continue on with the larger medallions, use those already completed smaller ones like the paper circle to hold the flattened strip in place.

Decorate as desired. These look very cute when hung as a garland. You can use them to spell out short words, with one letter on each of the center circles. If you want to hang these, use a small hole punch on the folds hidden by the circle in the middle.