

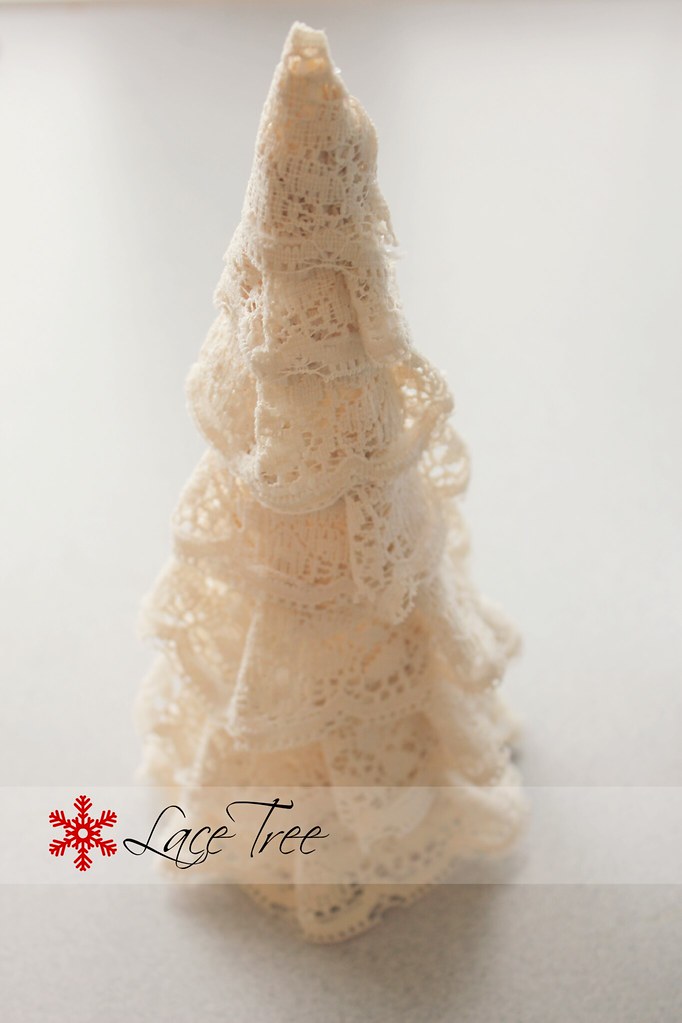
Today I'm sharing how to make the lace tree! I love how this one turned out; it's one of my favorites!
Here's what you need:
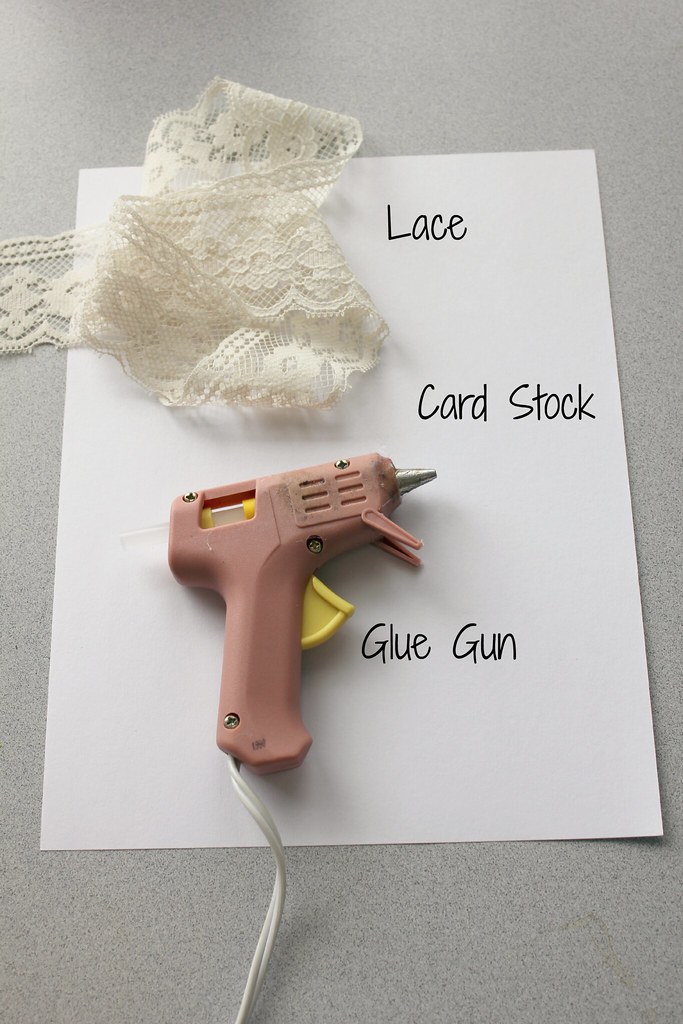
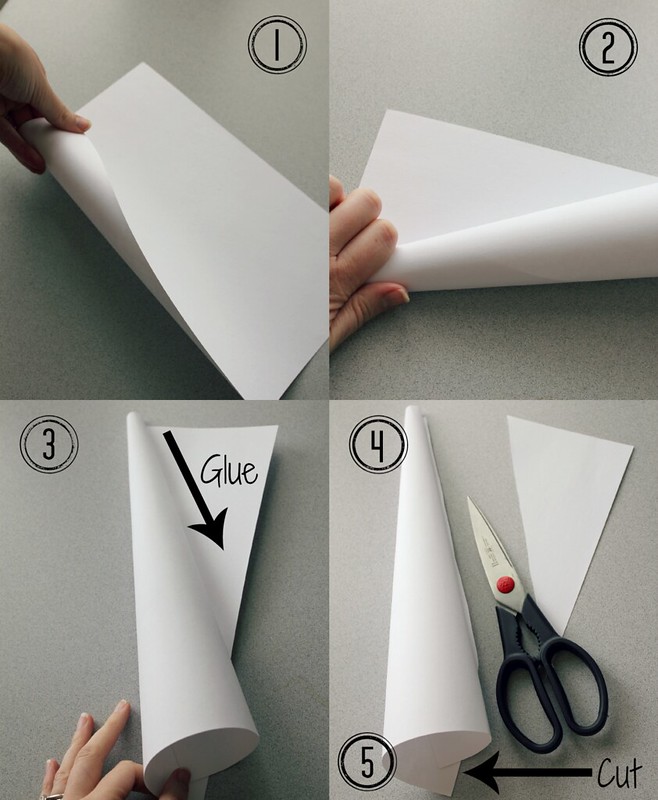
Start off with your cardstock tree base:
1. Start to curl the paper in at a corner
2. Make sure the top is tighter than the bottom, in a cone shape
3. Put a line of hot glue from top to bottom, roll into glue and hold until dry
4. Cut off excess paper, then do another line of glue from top to bottom to secure this seam
5. Cut off excess paper, making sure to cut it on an even surface so it stand properly. This will just be trial and error.
Instructions:
1. Start by gluing one end of the lace to the back of the cone; the bottom should graze the surface.
2. Fold a piece of the lace in toward the end you just glued, and glue that into a fold
3. Continue with individual strips of lace for each layer, making sure each layer is higher than the one below it
4. For the topmost layer, use a piece of lace that goes just around the top edge. You still want to maintain a nice tapered shape at the top--you don't want it to be poofy

(See sequin tree tutorial here)

So lovely! I've made it a holiday tradition in our home to make a new tree every year. This lace tree is definitely on my to do list!
ReplyDelete