Showing posts with label christmas. Show all posts

Tuesday, November 29, 2016

It's beginning to look a lot like Christmas...

With Christmas less than a month away, you are going to want to check out all of the potential gifts at the Springs Christian Academy Christmas Craft Show on Saturday, December 3, 2016!


Among the 80+ local crafters, you will find 5 of our WESTies onsite, selling handmade wool socks, mosaic artisanal jewelry, recycled and vintage jewelry, buttons, handmade bags, wallets, accessories and adorable sock monkey toys.

Monkey Business Card Company

Blueberry Lane Craft

Sox n Such

Periwinkle Dzyns

Mosaic Pendants Plus

Don't miss out on getting some handmade, original gifts for those you love!


Saturday, December 3, 2016
10 to 4
595 Lagimodiere Ave, Winnipeg

Admission is $4, children under 12 are free
Free parking, coat and parcel check
Childcare provided
Christmas Cafe


Wednesday, December 16, 2015

Holiday Treats Pt.2


This is a cute way to christma-tize some cupcakes! Here's what you need:

Cupcake mix (I used a simple devils food mix from the store), icing (I made a chocolate buttercream), nilla wafers, small twist pretzels, brown and red m&m's, small mints, mini chocolate chips

Start with your cupcake


1. Add the Nilla wafer 'nose' base


Dab some icing on the M&M and press it onto the nilla wafer


Add the pretzels first (what I should've done in the video), then the mints!


Dab some icing onto the mini chocolate chips, press onto the mints and voila!  Dasher, Dancer, Prancer and Rudolph all wrapped up in a tasty treat!  Click here for the video tutorial.

Reposted from Heidi-and-Seek

Monday, December 22, 2014

Christmas or Boxing Day Brunch Idea

Christmas time means lots of anticipation and preparation. I am always looking for meal and snack ideas that I can prepare ahead or make two of, so one goes in the freezer. So this is the delicious bread that I made for the vendors at the Etsy MIC sale in September. A great hit, and a nice alternative to Christmassy goodies that are sometimes a bit too oooeey gooey. I wouldn't change this recipe one bit. Yummy with cheese and apples, I think this would keep kids and adults happy!!!


Apple Cheddar Quick Bread


The combination of sweet-tart apples and salty Cheddar cheese is a match made in heaven. The grated and diced apples in this moist quick bread are key to the bursting apple flavour and tender texture.


Source: Canadian Living Magazine: September 
12 to 16 slices


Ingredients
  • 2 cups (500 mL) all-purpose flour
  • 1 tsp (5 mL) baking powder
  • 1/2 tsp (2 mL) baking soda
  • 1/4 tsp (1 mL) salt
  • 1-1/3 cups (325 mL) shredded extra-old Cheddar cheese
  • 1/3 cup (75 mL) butter, softened
  • 2/3 cup (150 mL) granulated sugar
  • 2 eggs
  • 1 cup (250 mL) diced, cored and peeled Granny Smith apples
  • 3/4 cup (175 mL) grated and peeled Granny apples
  • 2/3 cup (150 mL) milk
Preparation


In large bowl, whisk together flour, baking powder, baking soda and salt; stir in 1 cup of the Cheddar cheese. In separate bowl, beat butter until smooth; beat in sugar. Beat in eggs, 1 at a time. Stir in diced apple, grated apple and milk; stir into flour mixture just until combined. Spread in greased 9- x 5-inch (2 L) loaf pan; sprinkle with remaining cheese.

Bake in 375 F (190 C) oven until cheese on top is melted and golden, and cake tester inserted in centre comes out clean, 50 to 55 minutes. Let cool in pan on rack for 10 minutes. Turn out onto rack; let cool completely.

Monday, December 23, 2013

An Unexpected Christmas Gift

Earlier this week I got an email from a  recipient of an Etsy purchase of one of my bowls. I processed the order as requested by the buyer, but didn't realize that I didn't get the persons name.  So an unexpected gift for me in these comments, but also for the recipient.

It was a bowl that I really liked, but I was pleased and surprised to receive this lovely note.

Dear Nancy,
We have just received and opened a lovely pottery bowl from you! It arrived in perfect condition and the colours are perfect in our home. We are delighted by this wonderful gift, but are mystified about who might have bought it for us. Santa comes to mind at this time of year. We have no relatives in Manitoba. So...we ask that you please divulge the name of the gift giver so that we can extend our warmest thanks!!
Looking forward to hearing from you and thanking you for your artistic talents that
brought this bowl to us...

Nancy of Nancy Blokland Pottery

Saturday, December 14, 2013

Holiday Tutorials: Paper Snowflake Decoration


This is the last of our Holiday Tutorials, only 11 days until Christmas!

Today's DIY is Snowflake Art!  We had one wall that was looking sad and lonely in our living room, and these snowflakes are a nice addition to our Christmas decor :)

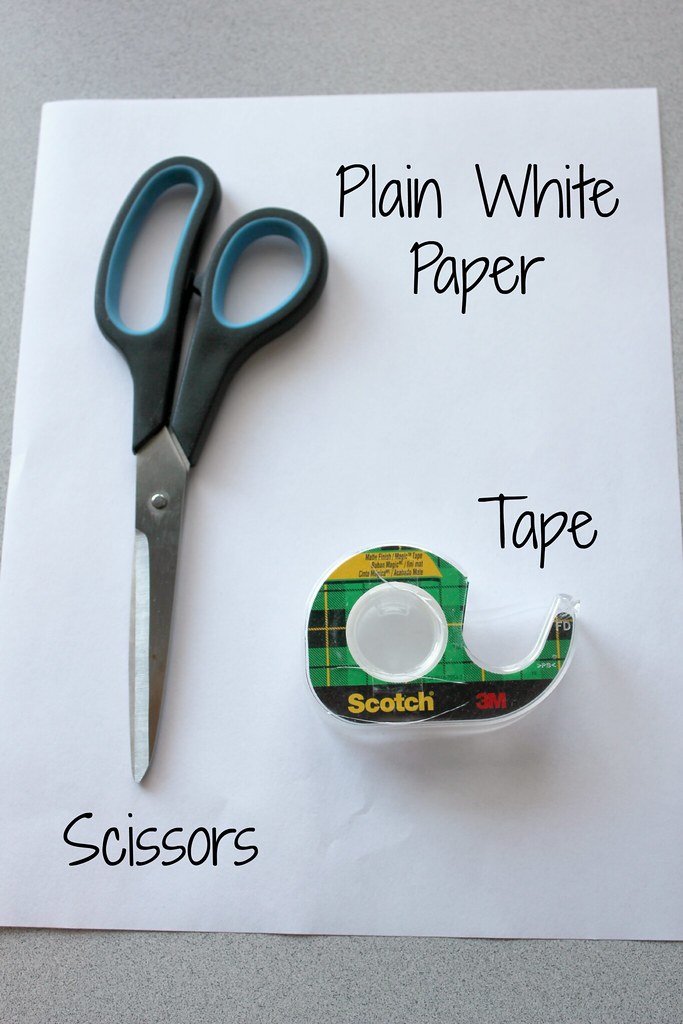
Here's what you need:


Here's what you do:
1. Fold the top corner to the opposite side of the paper (see photo)
2. Cut off excess paper, if you unfold it at this point you should have a perfect square.
3. Fold in a triangle again
4. Making sure the folded edge is on your left hand side, vertical, cut 3 lines starting from the bottom right corner. All the lines should reach the same point on the left, but make sure not to cut all the way through!


And then:
1. Once you've unfolded the square, bring the two middle pieces together to form a tube, and tape (or glue) together.
2. Flip the square over
3. Take the next layer out from the middle, and bring the pieces into a tube, tape together.
4. Flip the square over again and repeat
5. Flip the square over again and tape your final tube
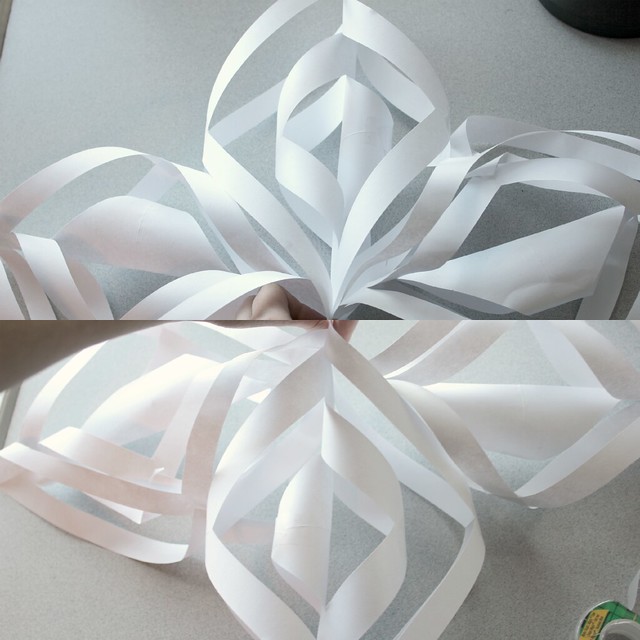
6. This is what the finished piece should look like. This is one piece, you will need 6 of these to create 1 whole snowflake. Don't worry, once you get the hang of it, it's quite simple :)


Once you have all 6 pieces, attach 3 pieces together (I used a stapler) at the ends. Do the same with the last three, and then grab both ends and staple both pieces together.


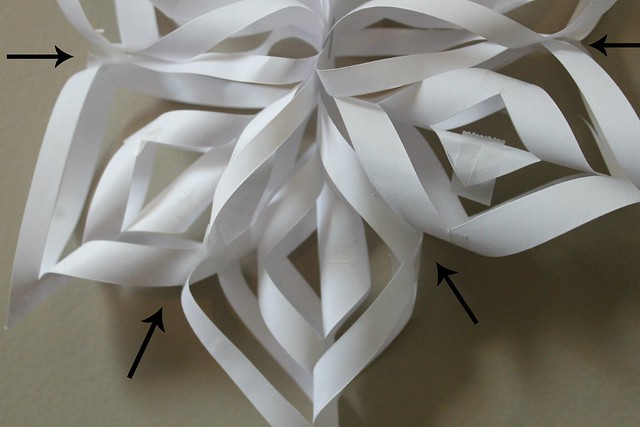
Now you'll want to tape (or glue) the edges together so that they don't hang funny (see arrows)


My inspiration for this wall art was from this trend you may have seen around, the 3D butterfly wall art. It's a neat way to add a pop to an empty wall.


We hope you've enjoyed our holiday tutorials, I hope they've inspired you to get a little crafty this holidays season!  Only a few more sleeps!

Tuesday, December 10, 2013

Holiday Tutorials: Felt and Fabric Tree Skirt


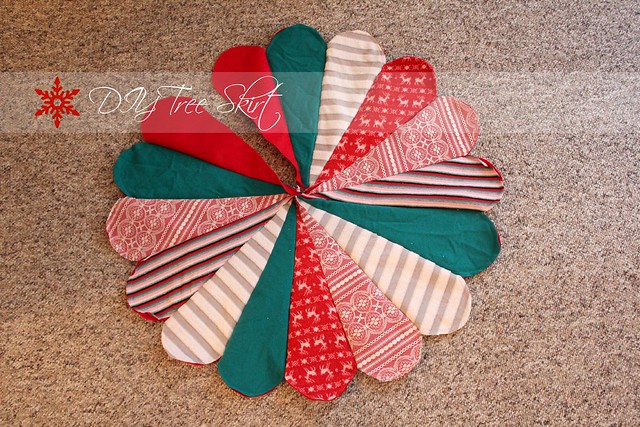
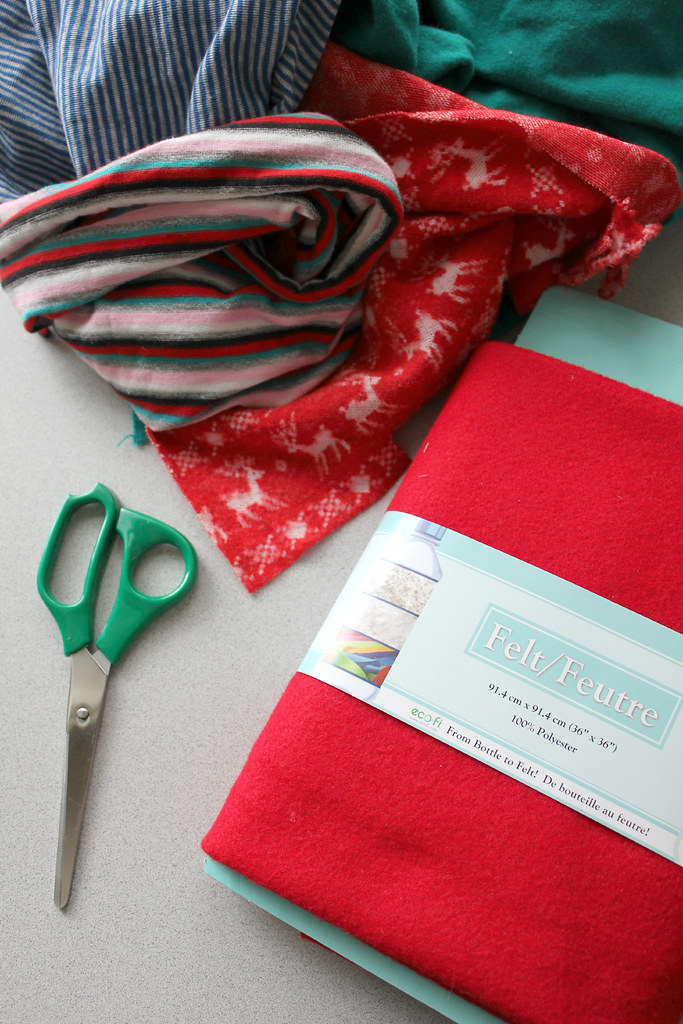
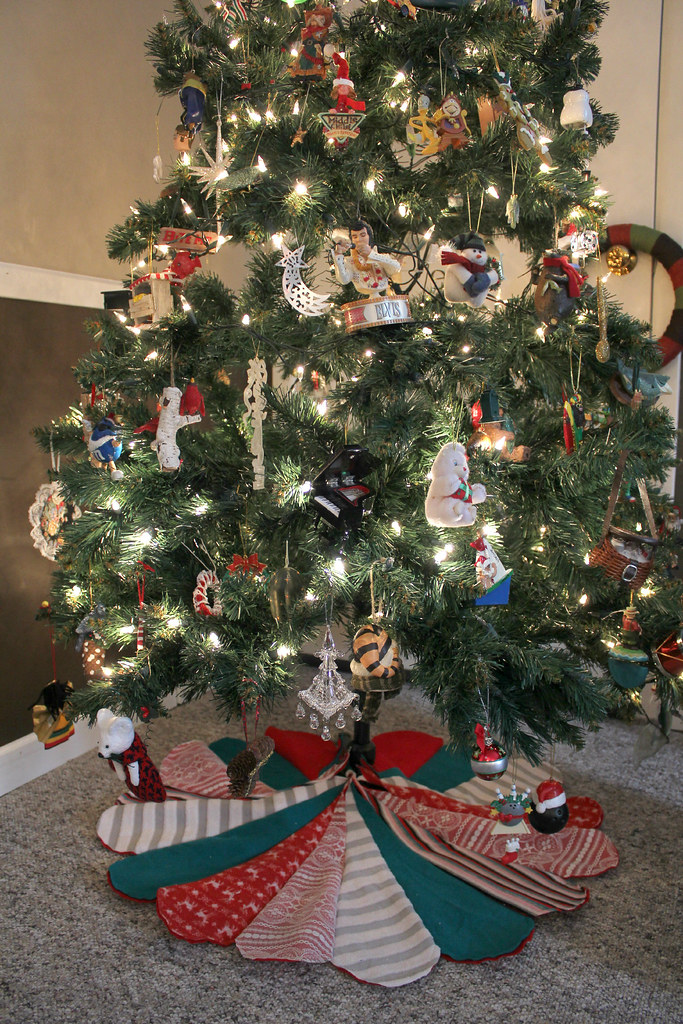
Today's DIY is a spin-off of this version of a scalloped Tree Skirt. I followed the same directions except I sewed fabric on top of the felt. 

Here's what you need:
-The template from the Martha Stewart Website
-Enough felt to make 16 cutouts from the template (I bought mine at Walmart)
-A few varieties of patterned fabric and then some solids as well.


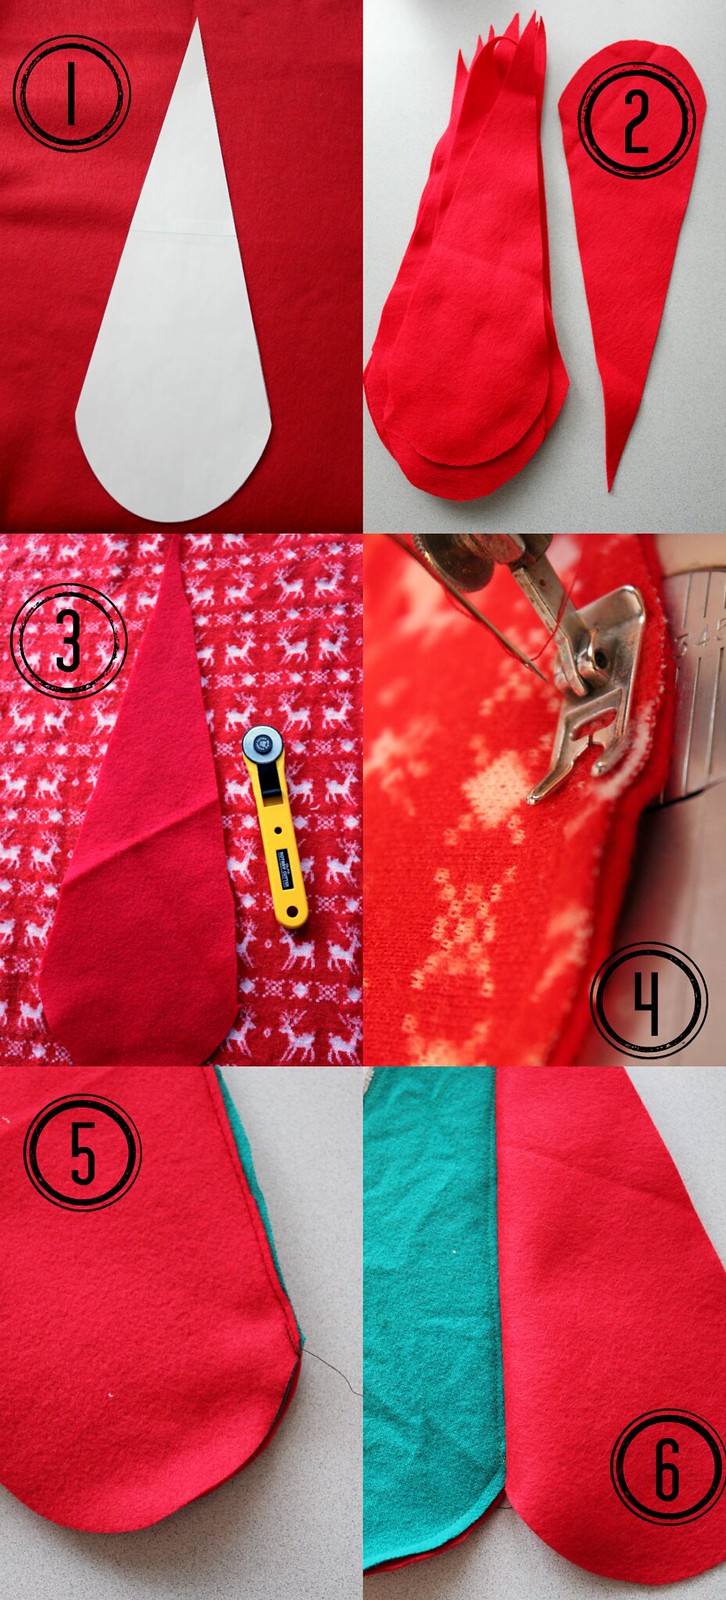
Here's what you do:
1. Place the paper template on the felt.
2. Cut out 16 of these
3. Cut out 16 pieces of fabric, as many of each pattern as you like
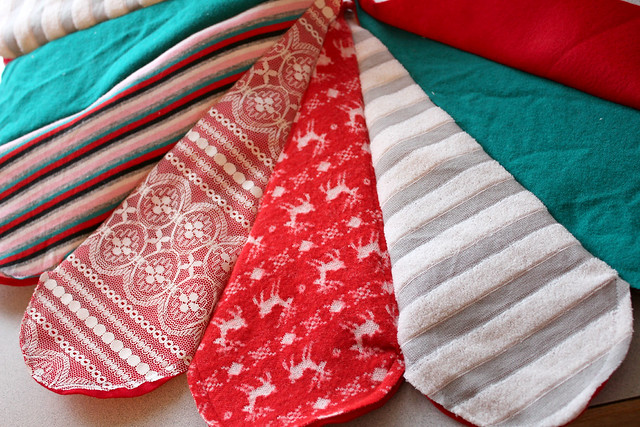
4. Sew the fabric on top of the felt pieces-it doesn't have to be perfect, because this is sort of a patchwork style it doesn't matter if it's not quite right :)
5. First put all your pieces next to each other until they form a circle. Then sew them together in pairs. In this picture I have two pieces face to face and I sewed them together up the edge, then when you open it up (6) you have sort of an upside down skinny heart shape.


7. Once you have all your pairs, start sewing them together, but leave about 2" unsewn at the tips because otherwise you will have a circle and you won't be able to wrap it around the tree!


It's sorta smallish, so if you want a fuller one you can either make the wedges longer or you could do 2 and put another layer underneath and have it out wider.


Now the tree's all ready to welcome presents :)


Saturday, December 7, 2013

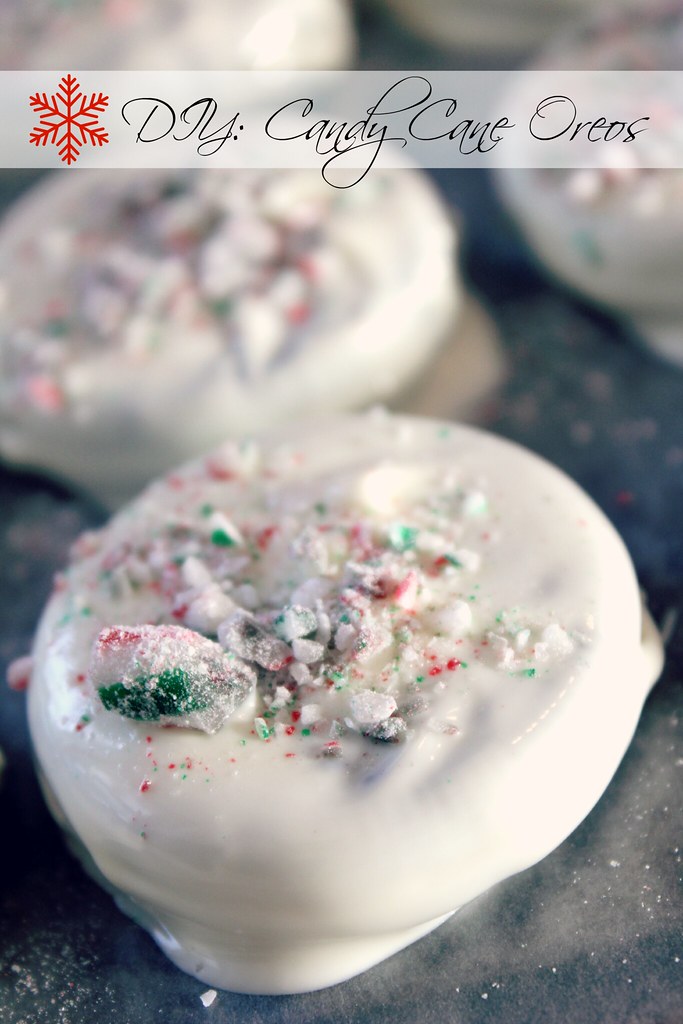
Holiday Tutorials: Candy Cane White Chocolate Oreos


I was so excited to make these--they taste just like Candy Cane bark, which is one of my favorites :)


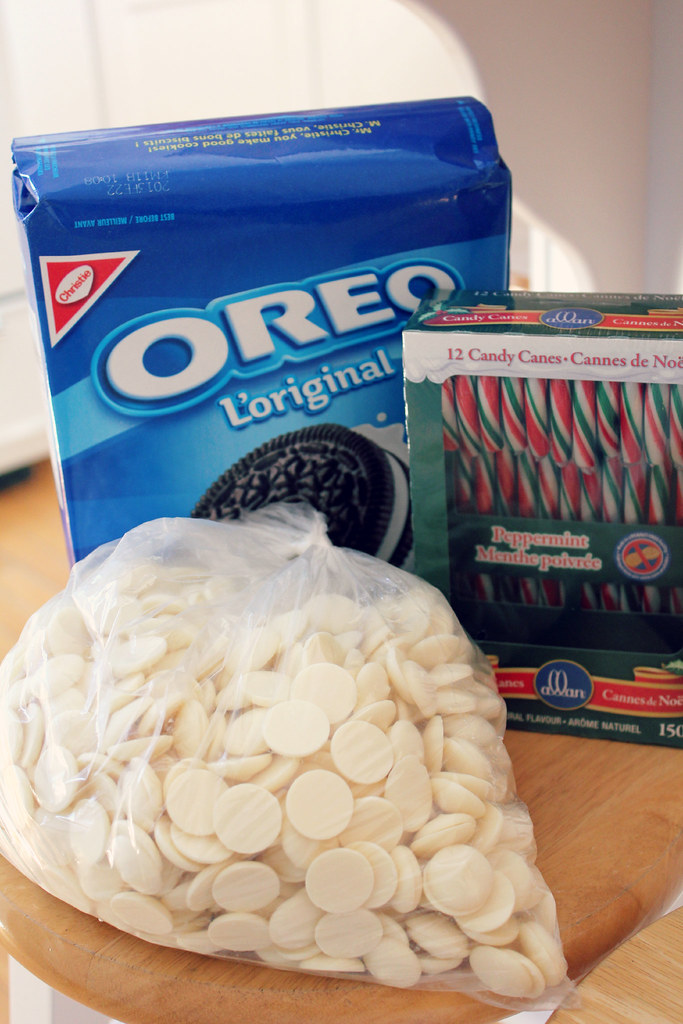
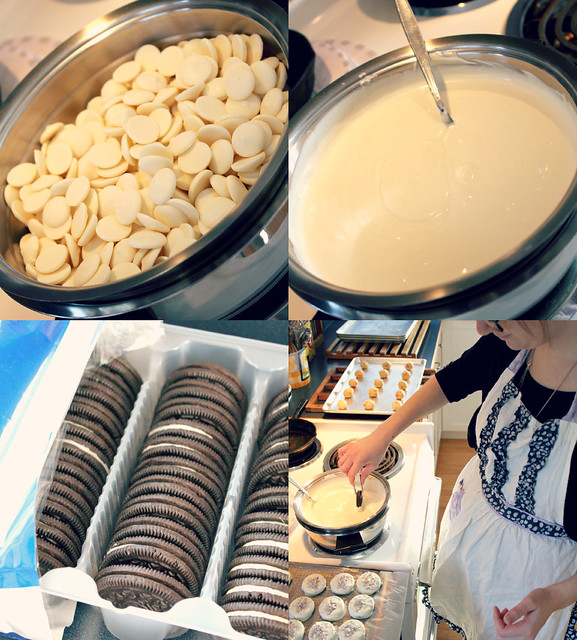
What you need:
- Box of Oreos (I bought the boxes that had 40 in them)
- A bag full of white chocolate melts (this amount made just over 2 boxes)
- Candy Canes!! (My FAVOURITE holiday treat!)
- A Cookie sheet lined with wax paper (To put the finished cookies on)


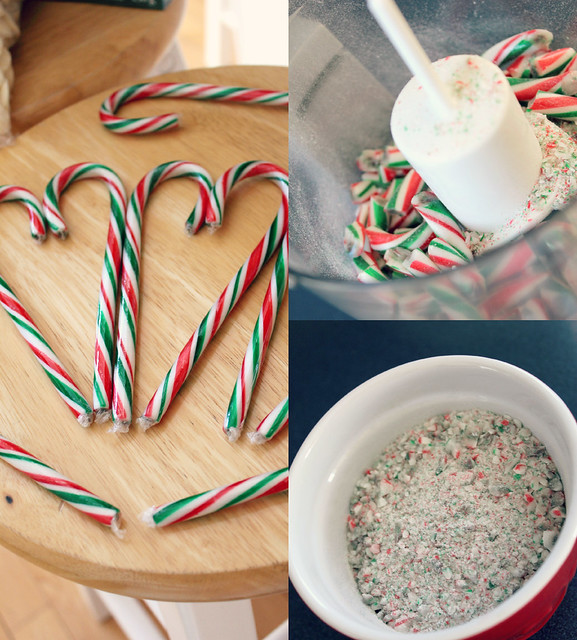
1. In a food processor, grind up the candy canes into chunks. If some of it turns into dust, that's okay. If you don't have a food processor, you can put the candy canes into a ziplock bag and pound away at them with a wooden spoon or...whatever works!


2. Put the white chocolate melts into a double boiler, and put on high heat until chocolate starts to melt. Once chocolate is melted, keep on low heat and make sure to keep it a consistent heat. I turned it up at one point and it got chunkier and harder to work with because I overdid it. It still tastes fine, but the cookie doesn't look as nice.


3. Once the chocolate is all melted, start dipping! I used tiny tongs with pointed edges, they worked really great! Make sure you get the Oreo completely covered in chocolate.
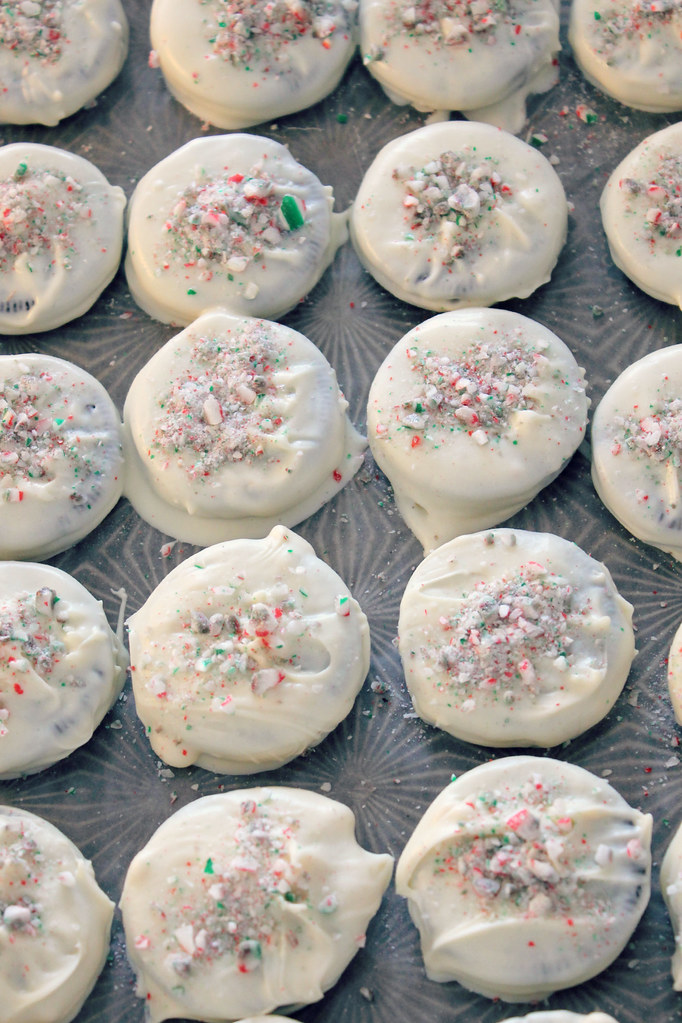
4. Place Oreos on wax paper lined cookie sheet, and sprinkle with candy cane bits


Since it's below 0°C here, I put the finished Oreos outside to harden, but you can definitely put them in the freezer just as well.


And there you have it: White chocolate dipped Candy Cane Oreos! Enjoy!


Tuesday, December 3, 2013

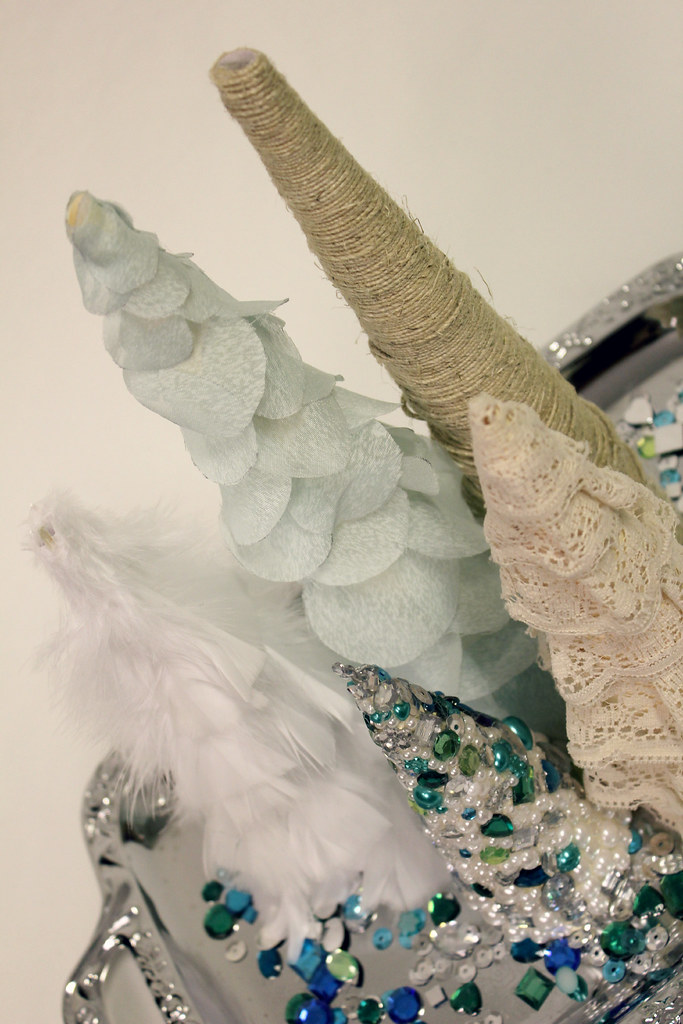
Holiday Tutorials: Fancy Forest Part 5


Hello everyone! Today's DIY is the last in our Fancy Forest- the Feather Tree.

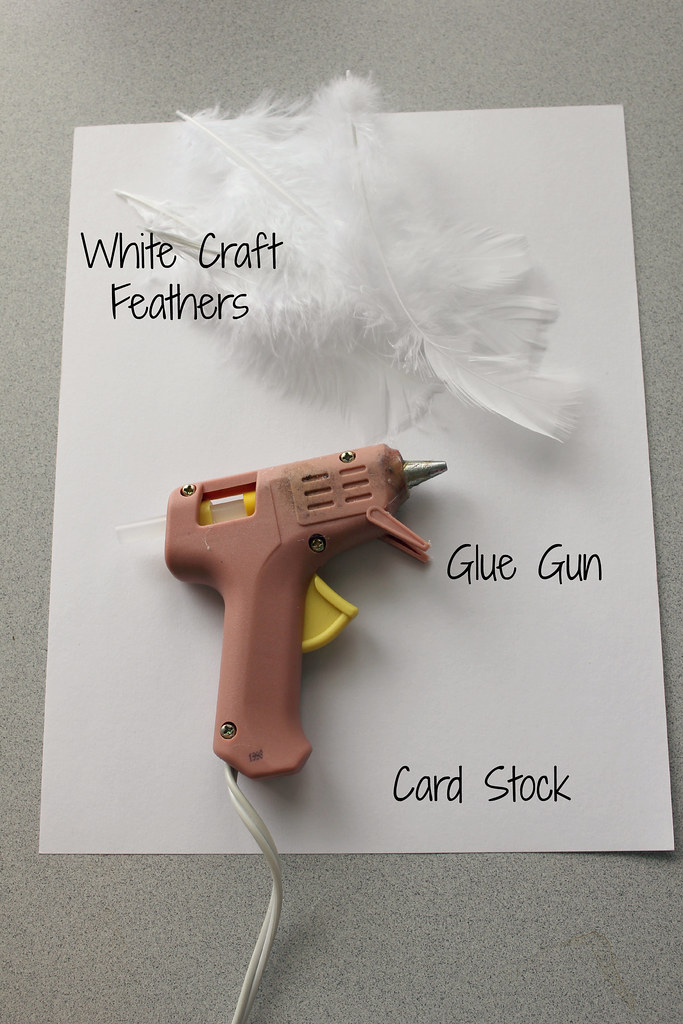
Here's what you need:


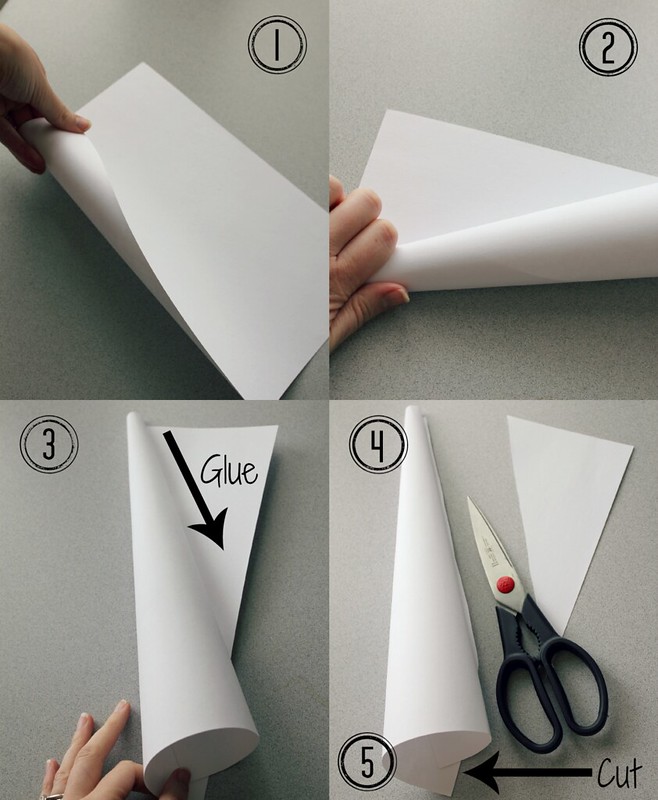
Start off with your cardstock tree base:
1. Start to curl the paper in at a corner
2. Make sure the top is tighter than the bottom, in a cone shape
3. Put a line of hot glue from top to bottom, roll into glue and hold until dry
4. Cut off excess paper, then do another line of glue from top to bottom to secure this seam
5. Cut off excess paper, making sure to cut it on an even surface so it stands properly. This will just be trial and error.


Instructions:
1. Cut 4 (or more depending on what you want) different lengths of feathers
2. Glue the largest feathers on first, one layer all the way around at about the same height. The ends of the feathers should brush the surface.
3. Continue gluing the different sizes in layers on top of each other until you reach the top.
4. Glue the topmost feathers down a bit to help create a tapered shape at the top.


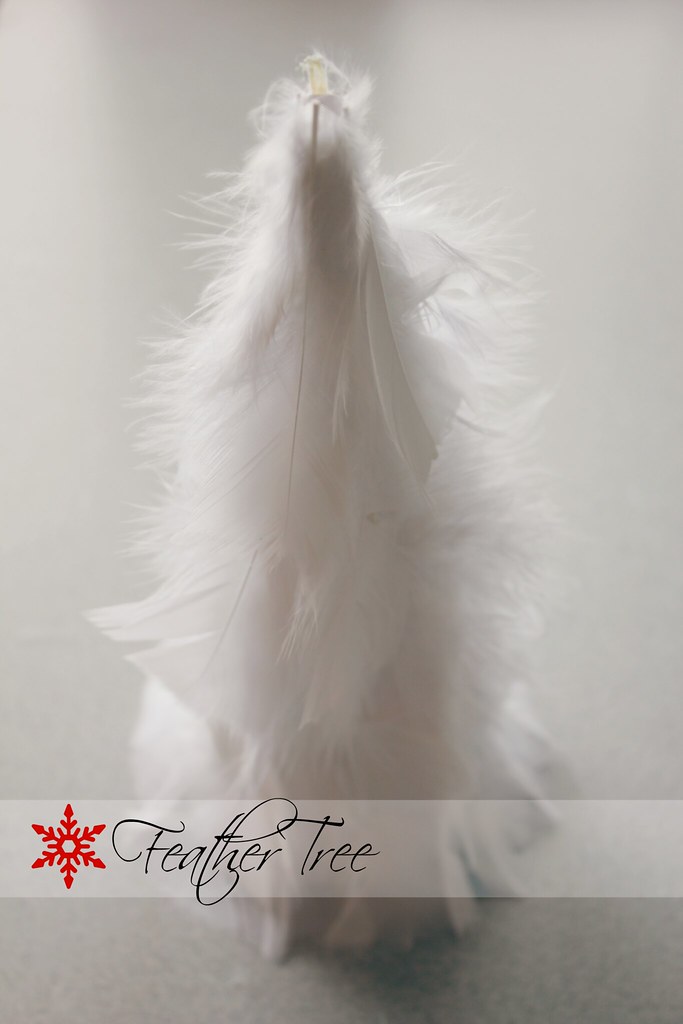
And there you have the feather tree!


This completes our Fancy Forest! Check out the other tree DIY's here:
Sequin Tree
Lace Ruffle Tree
Petal Tree
Twine Tree
 

Saturday, November 30, 2013

Holiday Tutorials: Mini Pom Garland


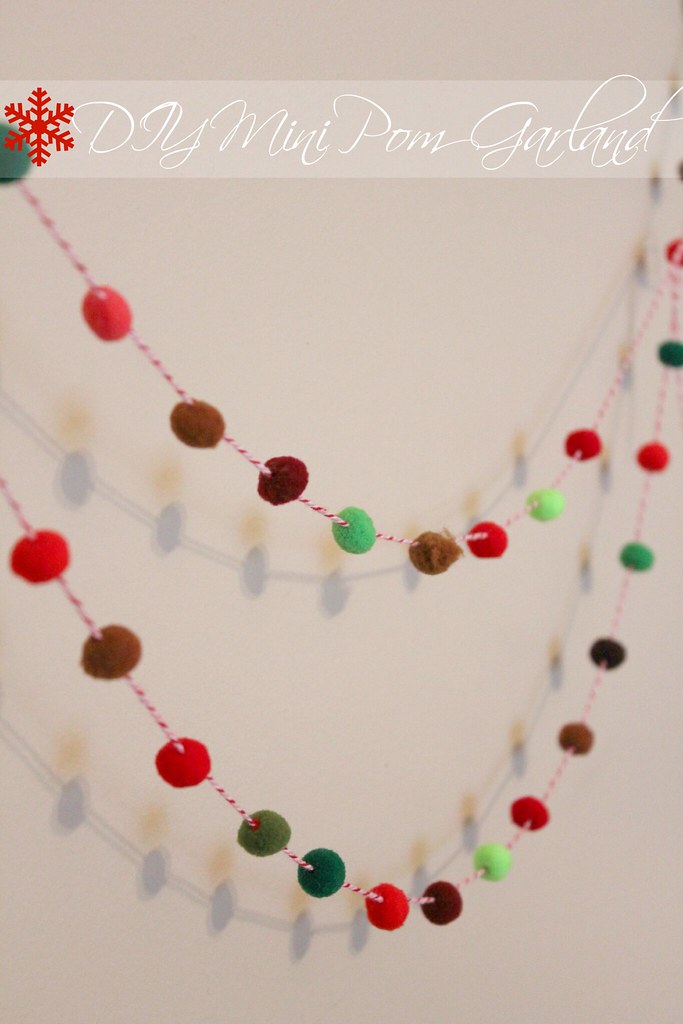
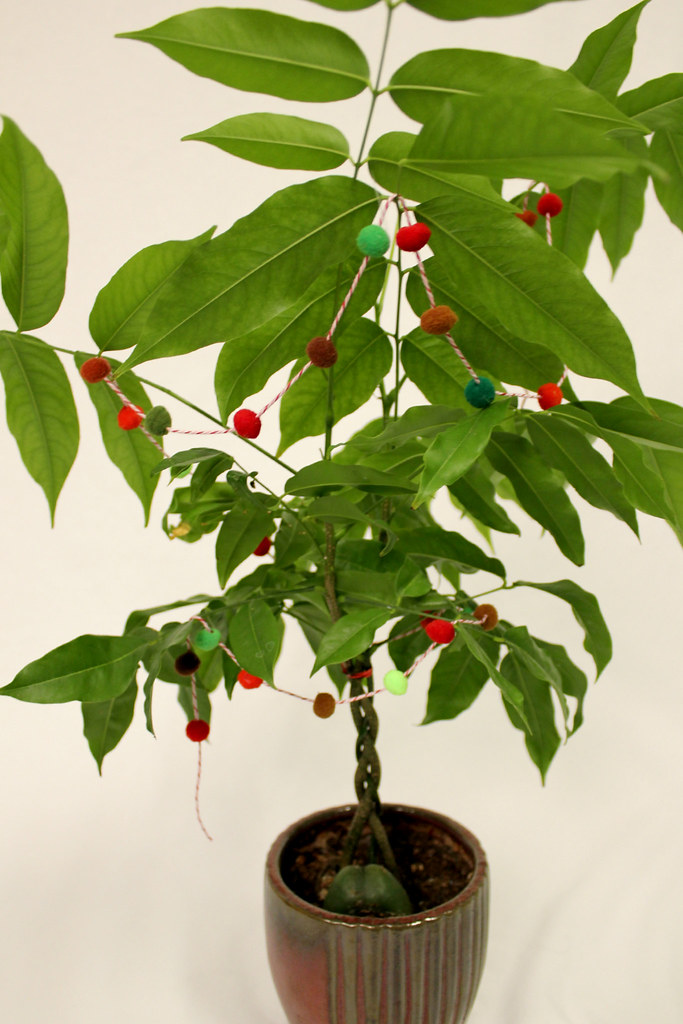
I had a lot of leftover mini pom poms from the Mistletoe, so today's DIY is this cute cute mini pom pom garland! It's super easy to make and it adds a little colour pop to your decorating!

Here's what you need:

- Colourful twine or string
- Mini pom poms (I found these at our local dollar store)
- Large sewing needle big enough to string the twine through


Instructions:
1. Thread the twine through needle
2. Push needle through middle of mini pom
3. Push pom poms down the string, space them as you wish!

Hang on your tree, on the wall, or even on your plants to give them a festive look!


Happy decorating!

Tuesday, November 26, 2013

Holiday Tutorials: Fancy Forest Part 4


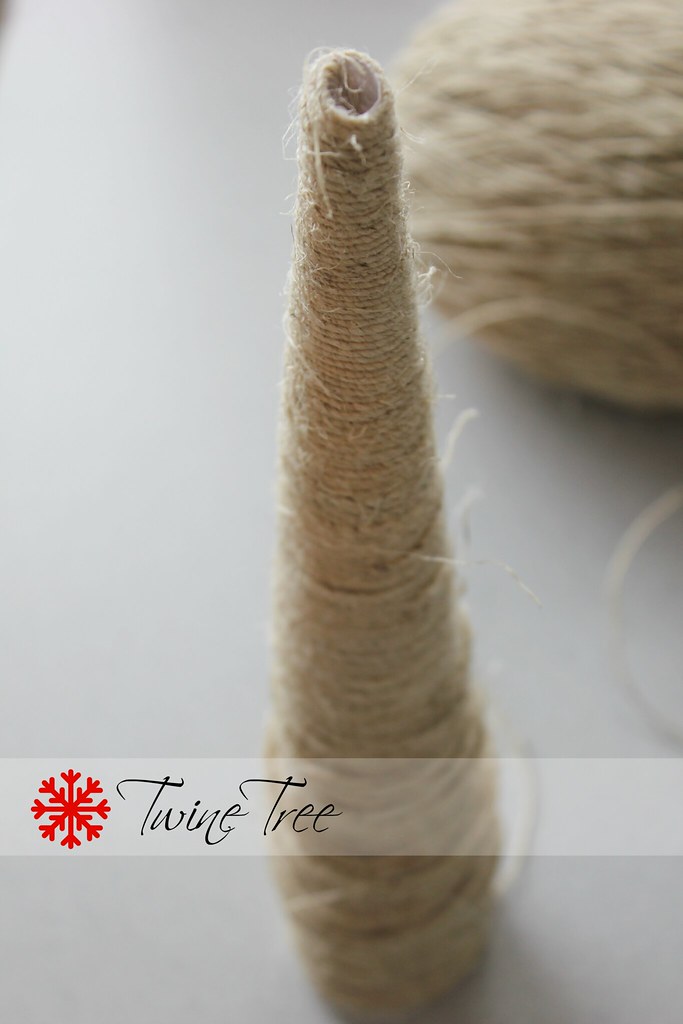
It's time for yet another tree in the fancy forest: the Twine Tree.

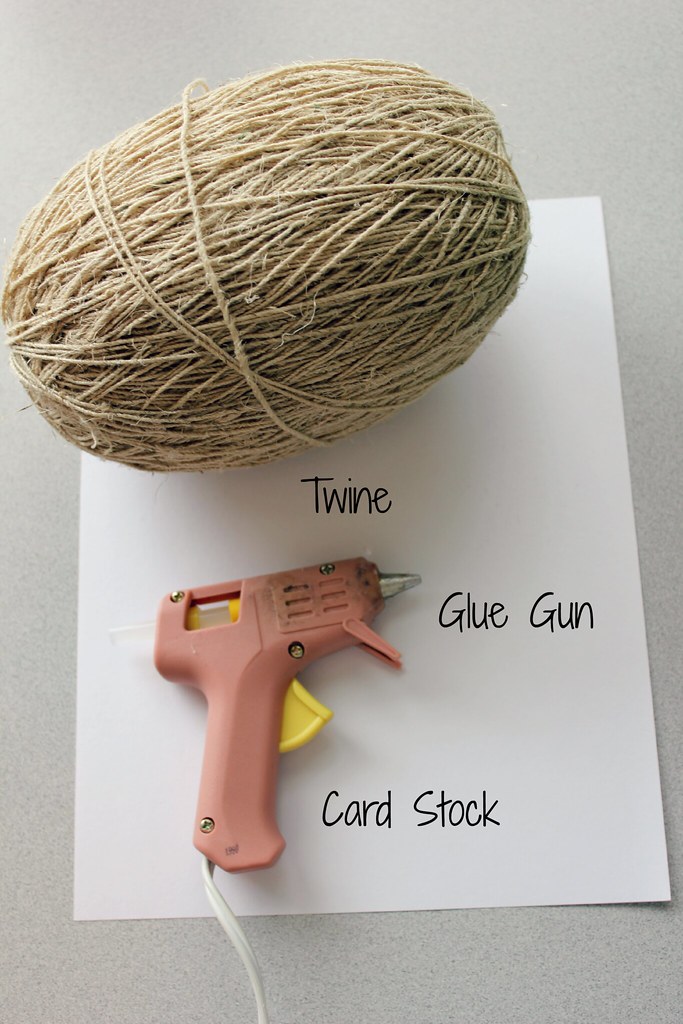
Here's what you need:


Start off with your cardstock tree base:
1. Start to curl the paper in at a corner
2. Make sure the top is tighter than the bottom, in a cone shape
3. Put a line of hot glue from top to bottom, roll into glue and hold until dry
4. Cut off excess paper, then do another line of glue from top to bottom to secure this seam
5. Cut off excess paper, making sure to cut it on an even surface so it stands properly. This will just be trial and error


Instructions:
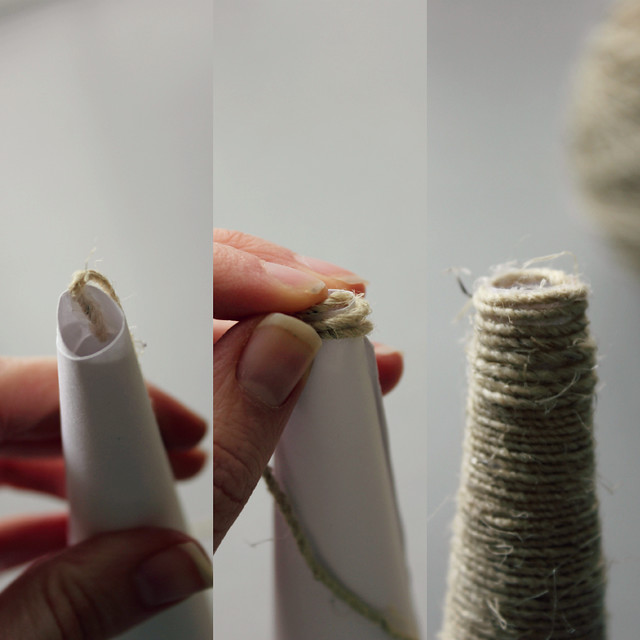
1. Start with the twine on the inside of the tip of the cone.
2. Put a line of glue around the top edge and wrap the twine around.
3. Continue gluing and wrapping twine around tree, covering all the paper.

TIP: Don't wrap TOO tightly, mine ended up getting all warped about halfway down because I was wrapping too tight and it squished the paper!


And your twine tree is done!


The last tree in our fancy forest is coming next Tuesday!


See parts 1, 2, and 3

Saturday, November 23, 2013

Holiday Tutorials: Hot Chocolate Bar


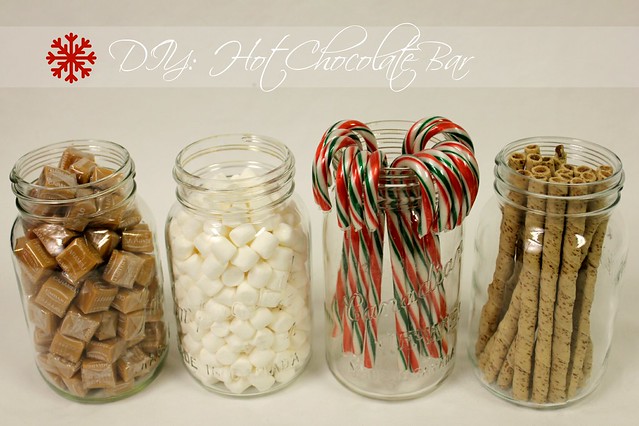
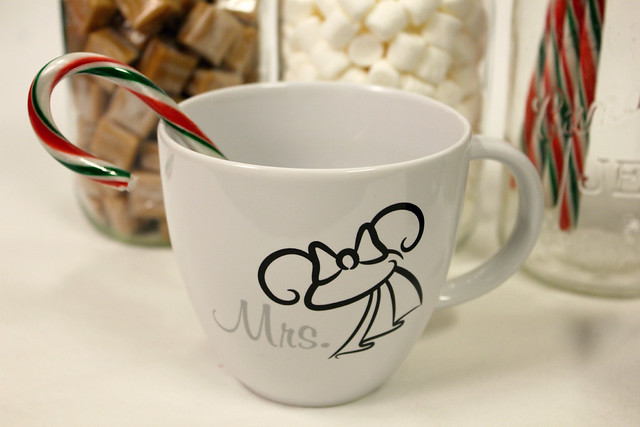
Next up is a Hot Chocolate Bar!! This is a really fun idea for a Christmas party or movie night.

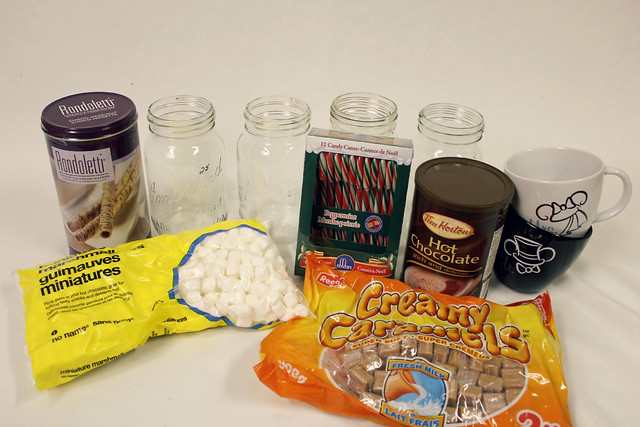
Here's what I used:


I took a look at a few other ideas around like this one I found on Pinterest to see what kind of additions I should get for the hot chocolate.

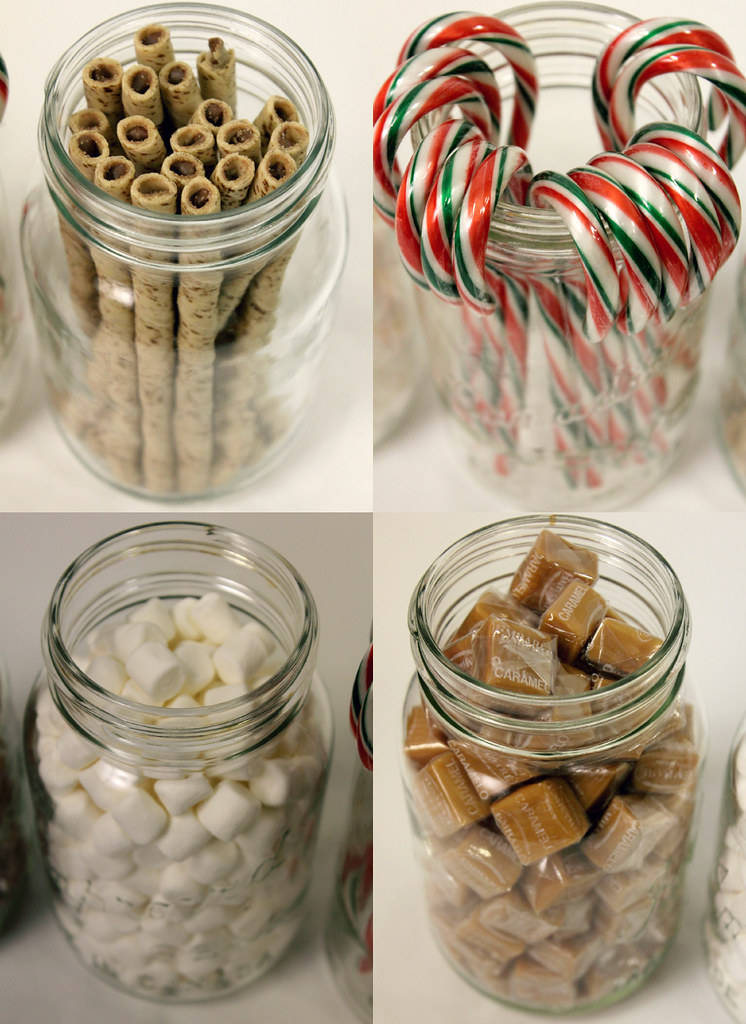
I decided on mini marshmallows, creamy caramels, hazelnut straws and of course my all-time favorite, candy canes!


Fill your mug with hot chocolate


Add a few treats, and enjoy!