Showing posts with label christmas ornament. Show all posts

Tuesday, December 3, 2013

Holiday Tutorials: Fancy Forest Part 5


Hello everyone! Today's DIY is the last in our Fancy Forest- the Feather Tree.

Here's what you need:
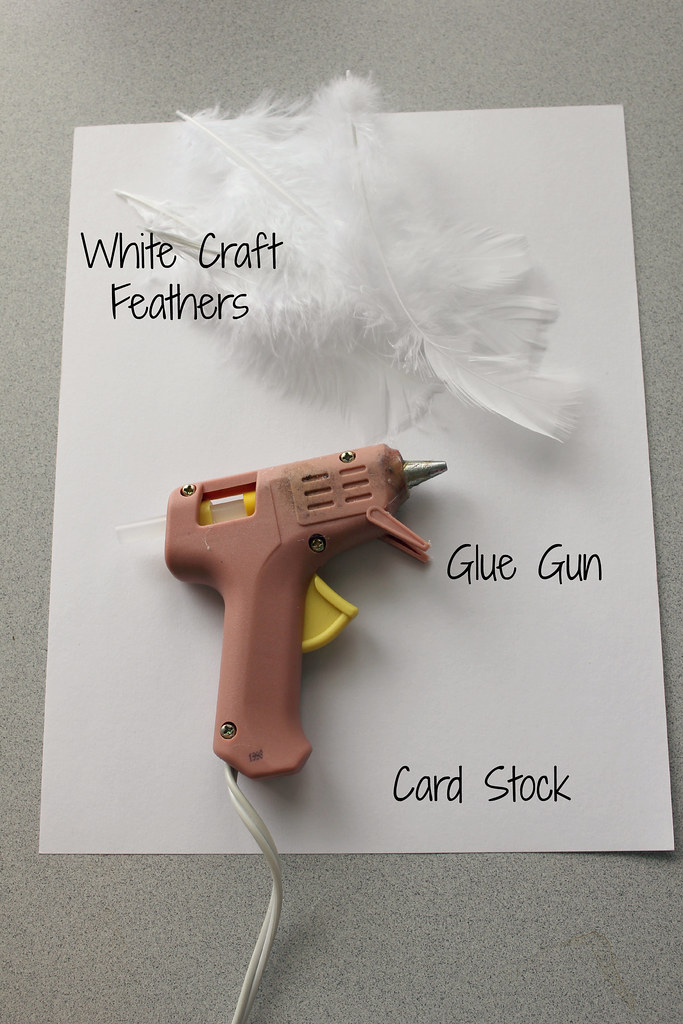

Start off with your cardstock tree base:
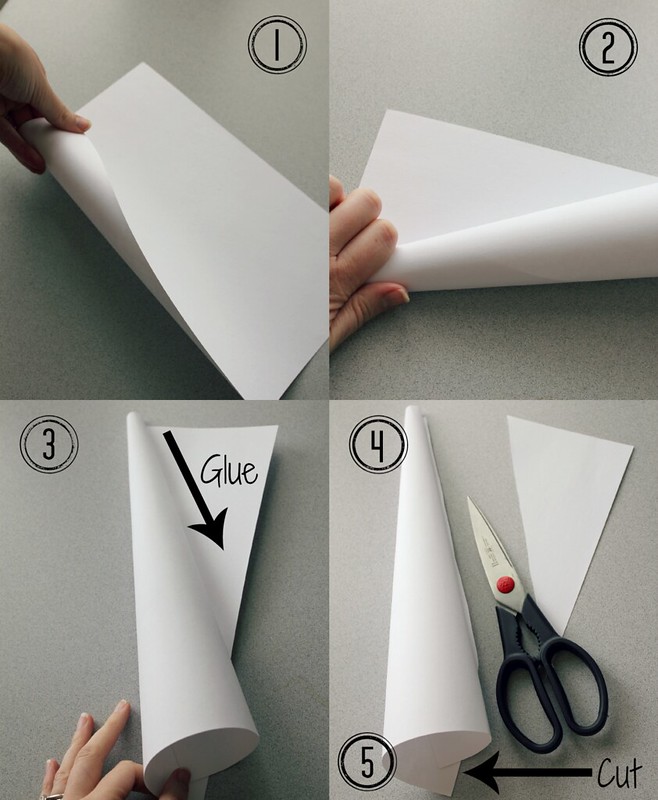
1. Start to curl the paper in at a corner
2. Make sure the top is tighter than the bottom, in a cone shape
3. Put a line of hot glue from top to bottom, roll into glue and hold until dry
4. Cut off excess paper, then do another line of glue from top to bottom to secure this seam
5. Cut off excess paper, making sure to cut it on an even surface so it stands properly. This will just be trial and error.

Instructions:
1. Cut 4 (or more depending on what you want) different lengths of feathers
2. Glue the largest feathers on first, one layer all the way around at about the same height. The ends of the feathers should brush the surface.
3. Continue gluing the different sizes in layers on top of each other until you reach the top.
4. Glue the topmost feathers down a bit to help create a tapered shape at the top.


And there you have the feather tree!
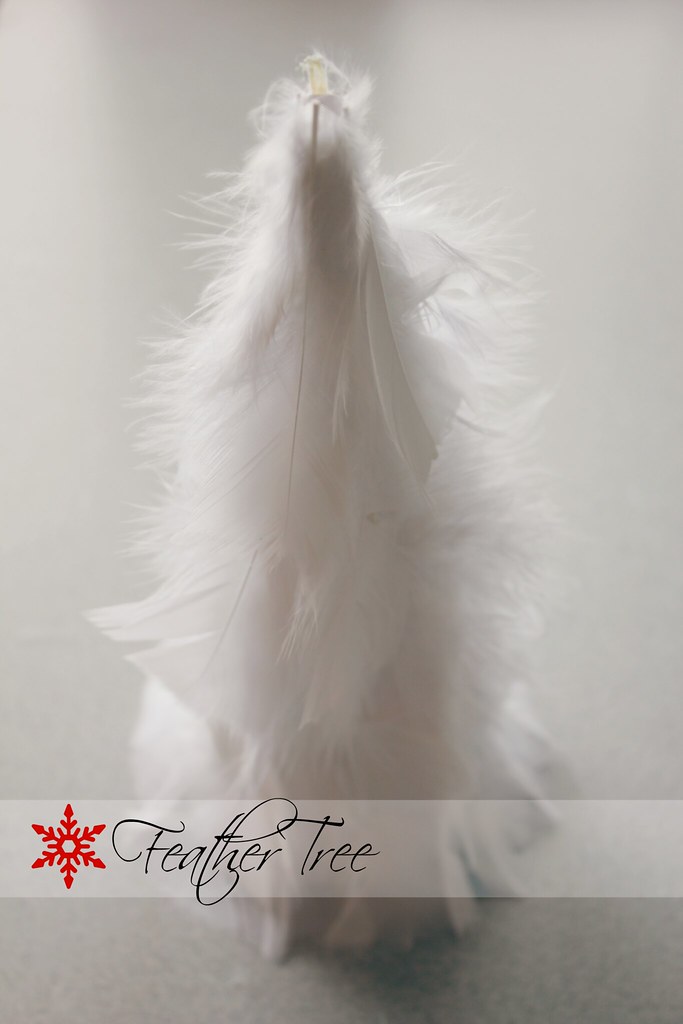

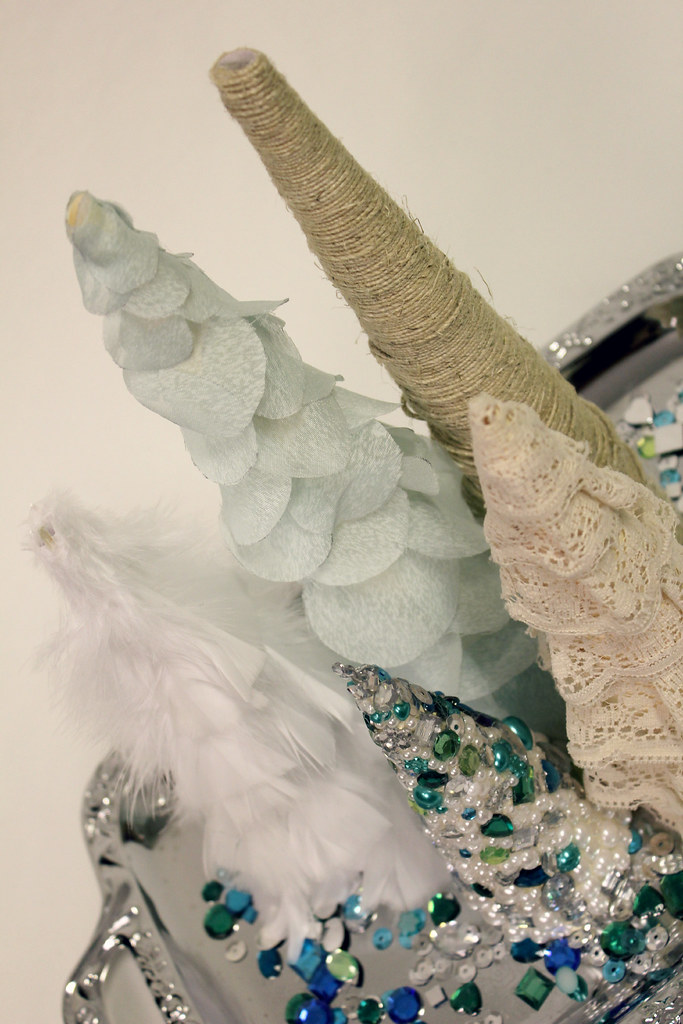
This completes our Fancy Forest! Check out the other tree DIY's here:
Sequin Tree
Lace Ruffle Tree
Petal Tree
Twine Tree
 

Tuesday, November 26, 2013

Holiday Tutorials: Fancy Forest Part 4


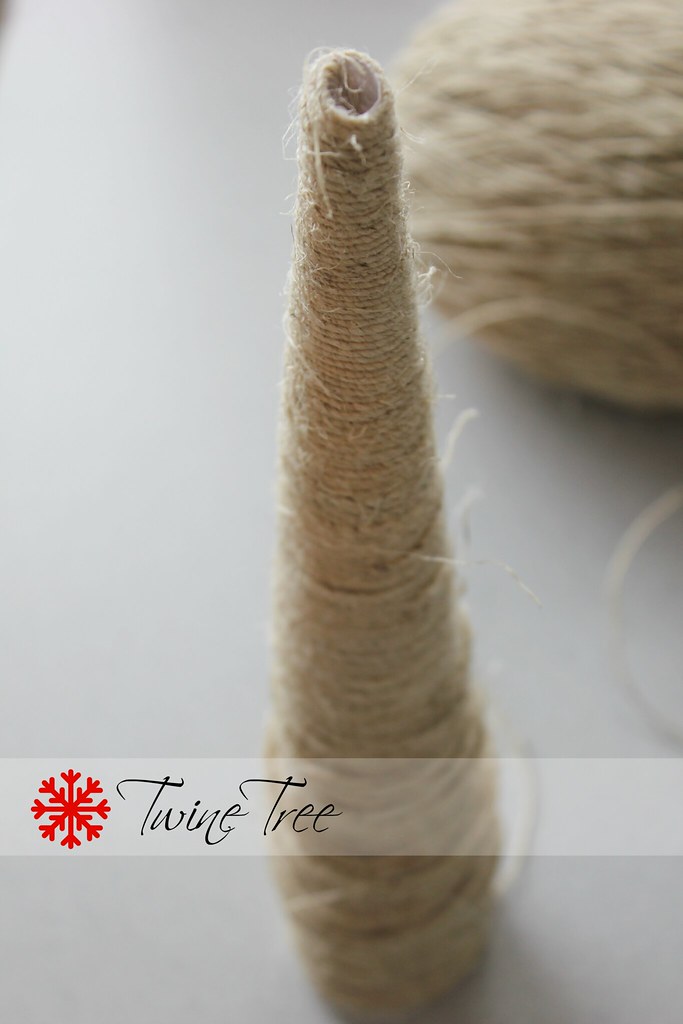
It's time for yet another tree in the fancy forest: the Twine Tree.

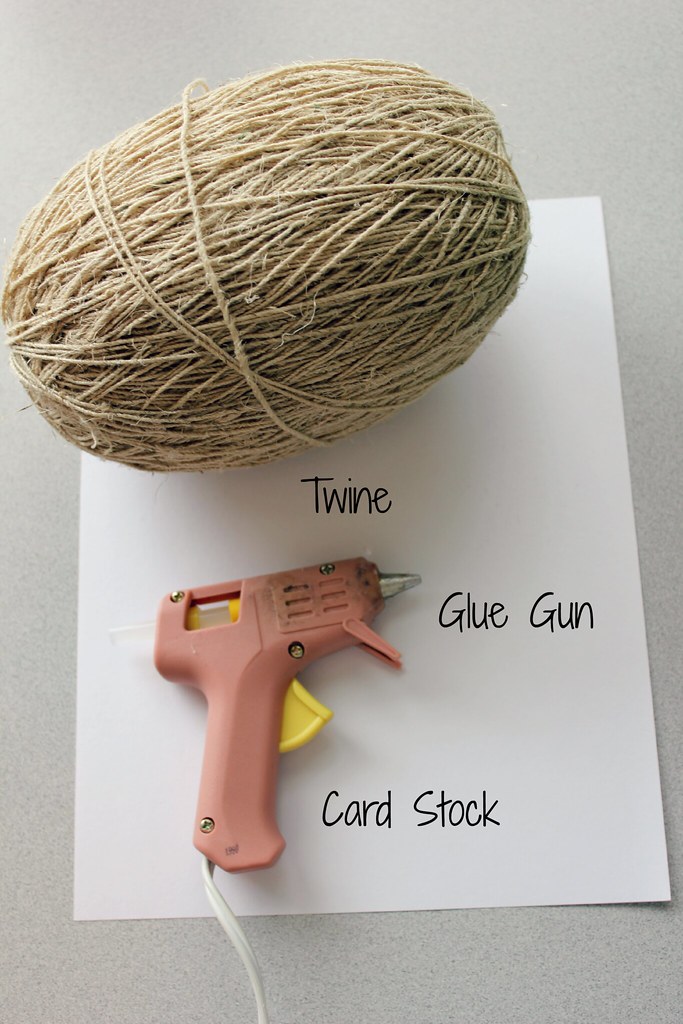
Here's what you need:


Start off with your cardstock tree base:
1. Start to curl the paper in at a corner
2. Make sure the top is tighter than the bottom, in a cone shape
3. Put a line of hot glue from top to bottom, roll into glue and hold until dry
4. Cut off excess paper, then do another line of glue from top to bottom to secure this seam
5. Cut off excess paper, making sure to cut it on an even surface so it stands properly. This will just be trial and error


Instructions:
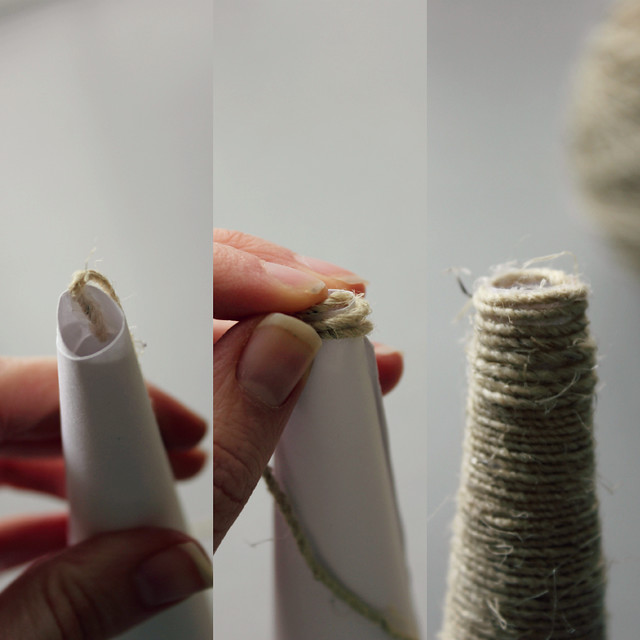
1. Start with the twine on the inside of the tip of the cone.
2. Put a line of glue around the top edge and wrap the twine around.
3. Continue gluing and wrapping twine around tree, covering all the paper.

TIP: Don't wrap TOO tightly, mine ended up getting all warped about halfway down because I was wrapping too tight and it squished the paper!


And your twine tree is done!


The last tree in our fancy forest is coming next Tuesday!


See parts 1, 2, and 3

Tuesday, November 19, 2013

Holiday Tutorials: Fancy Forest Part 3


Today I will show you how to make the Petal Tree. This is probably tied for my favourite with the Lace Ruffle Tree, it worked out SO well!

Here's what you need:


Start off with your cardstock tree base:
1. Start to curl the paper in at a corner
2. Make sure the top is tighter than the bottom, in a cone shape
3. Put a line of hot glue from top to bottom, roll into glue and hold until dry
4. Cut off excess paper, then do another line of glue from top to bottom to secure this seam
5. Cut off excess paper, making sure to cut it on an even surface so it stands properly. This will just be trial and error. 


Here's what you do:


Instructions:
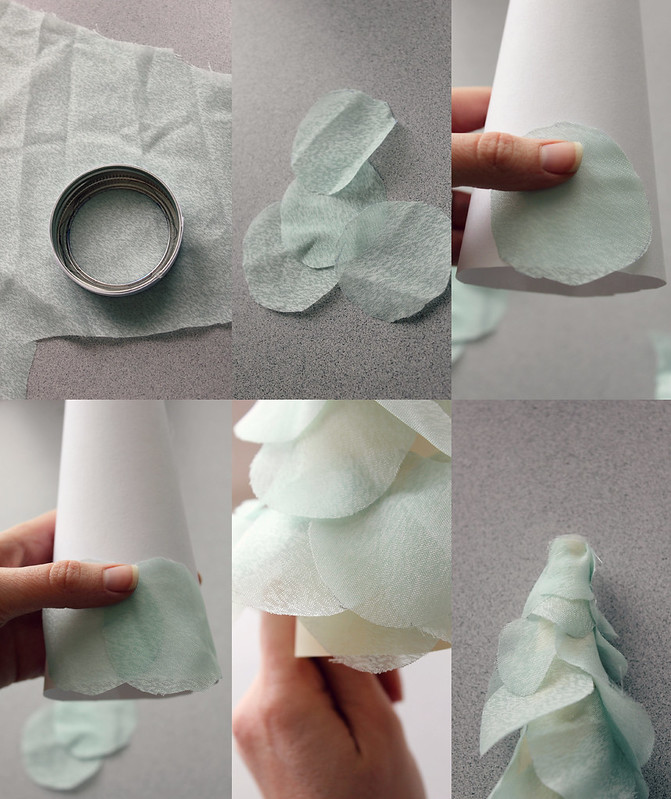
1. Trace 2 different sizes of circles. For this I used the lid from a jar, and for the smaller size I used a large thread holder-not pictured--just as long as the smaller ones are visibly smaller than the bigger ones.
2. Glue the circles around the base of the tree so that the bottom of the circles graze the 'ground'. I did the large circle about halfway up the cone and then switched to the smaller ones.
3. About  halfway up, switch to the smaller circles so that it starts to become more tapered; don't go quite all the way to the top
4. For the very top, use 2 small circles, but wrap them tightly just at the very tip.  The bottom of the circle should still be loose, giving that look of a petal, but the tightness at the top helps with the tree look ;)


Voila! Pretty petal tree.

Tuesday, November 12, 2013

Holiday Tutorials: Fancy Forest Part 2


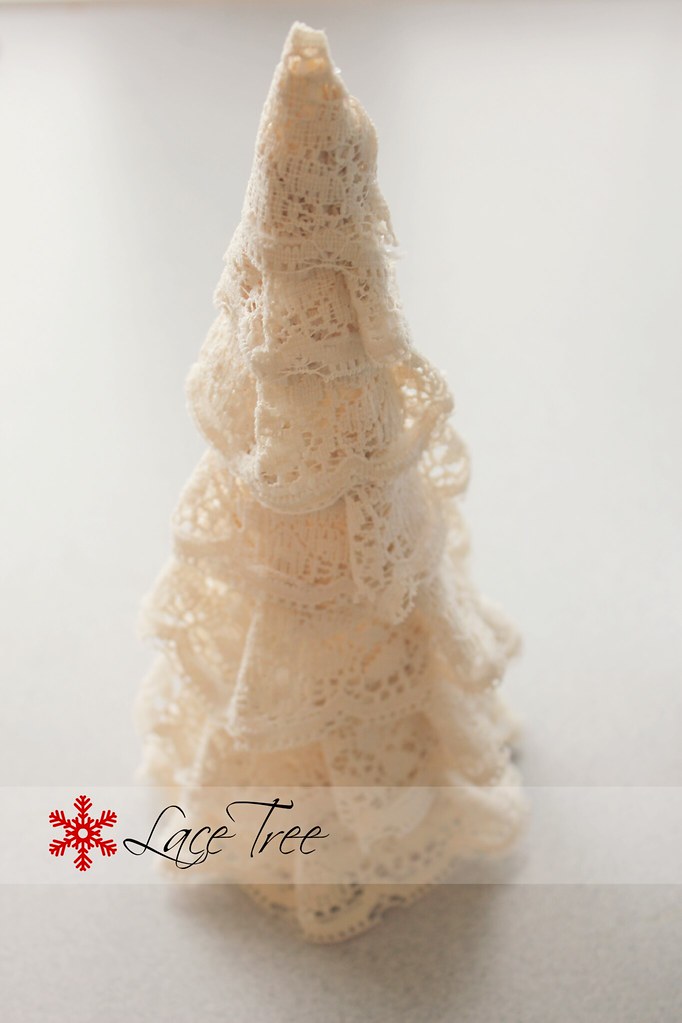
Today I'm sharing how to make the lace tree! I love how this one turned out; it's one of my favorites!

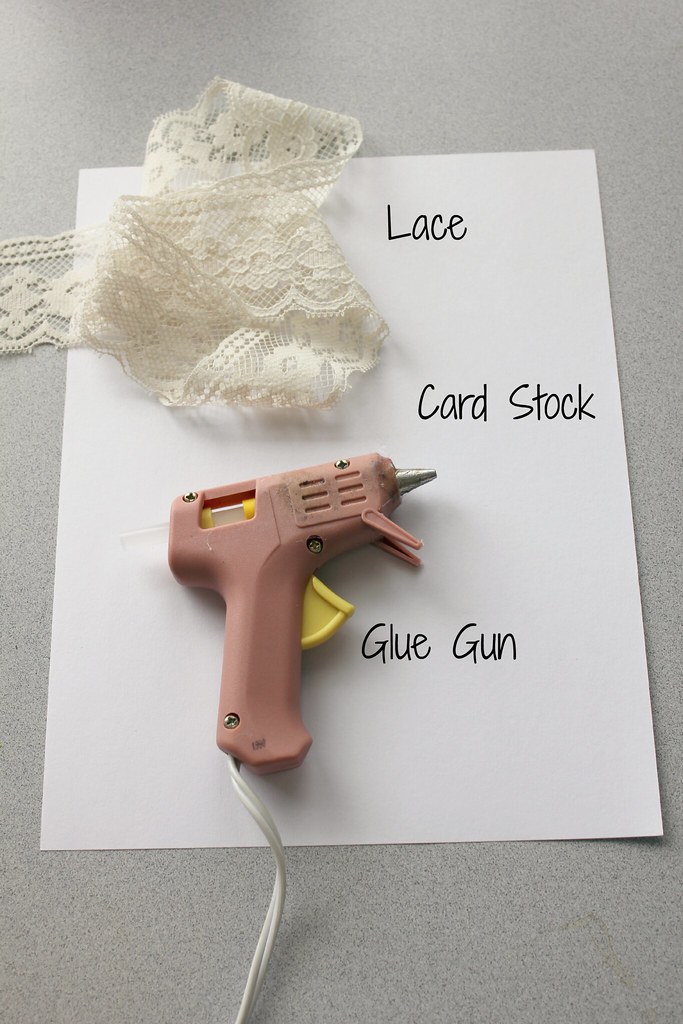
Here's what you need:


Start off with your cardstock tree base:
1. Start to curl the paper in at a corner
2. Make sure the top is tighter than the bottom, in a cone shape
3. Put a line of hot glue from top to bottom, roll into glue and hold until dry
4. Cut off excess paper, then do another line of glue from top to bottom to secure this seam
5. Cut off excess paper, making sure to cut it on an even surface so it stand properly. This will just be trial and error. 


Instructions:
1. Start by gluing one end of the lace to the back of the cone; the bottom should graze the surface.
2. Fold a piece of the lace in toward the end you just glued, and glue that into a fold
3. Continue with individual strips of lace for each layer, making sure each layer is higher than the one below it
4. For the topmost layer, use a piece of lace that goes just around the top edge. You still want to maintain a nice tapered shape at the top--you don't want it to be poofy


Now you have a super fancy lace tree for your fancy forest :)
(See sequin tree tutorial here)


Tuesday, November 5, 2013

Holiday Tutorials: Fancy Forest Part 1


Thanksgiving and Halloween are over, and you know what that means....Christmas is on it's way!  We're going to be sharing a bunch of holiday tutorials in the next two months to help get you in the spirit of things!

Our first holiday tutorial is making this pretty wintery decor consisting of a variety of decorated trees.

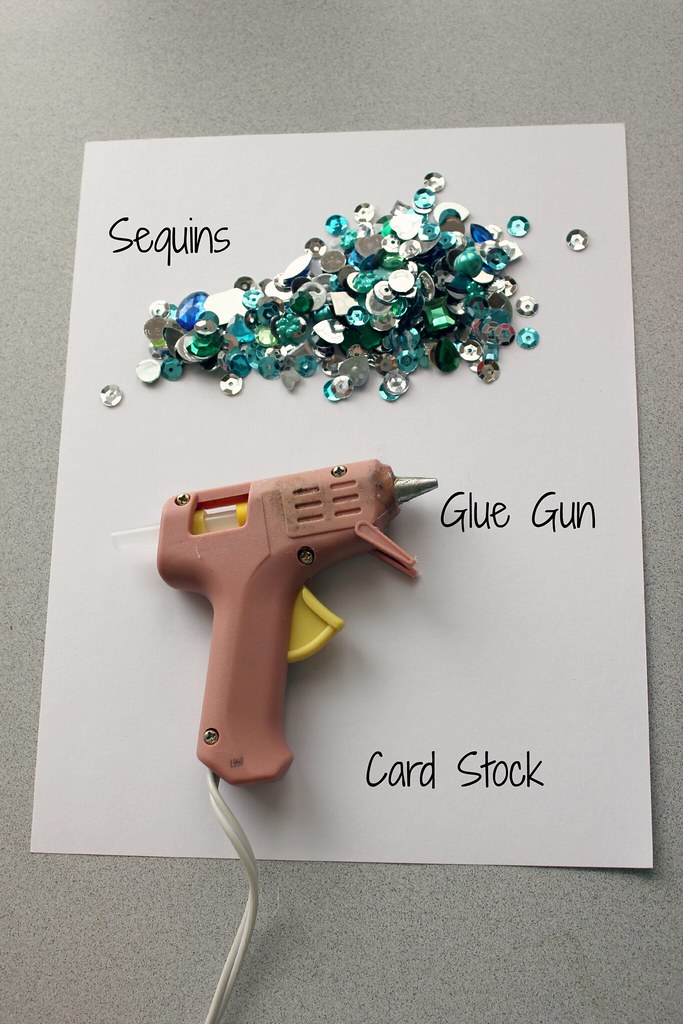
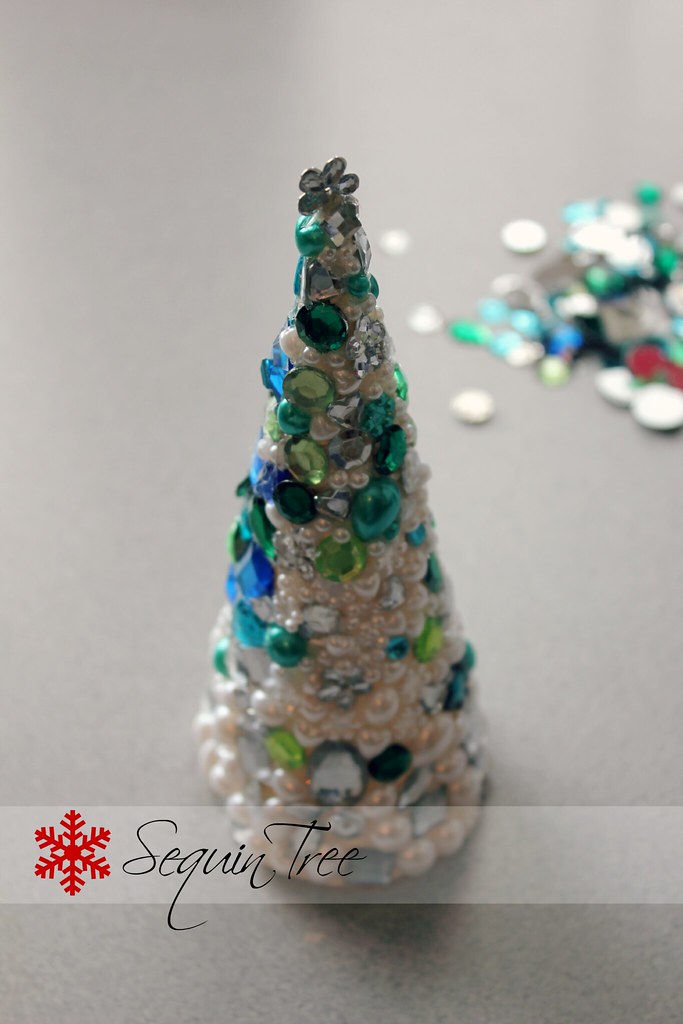
First up in our fancy forest is the sequin tree! Here's what you need:
- Sequins and gems (I got these from the dollar store)
- Glue gun
- Cardstock paper for the tree base


Start off with your cardstock tree base:
1. Start to curl the paper in at a corner
2. Make sure the top is tighter than the bottom, in a cone shape
3. Put a line of hot glue from top to bottom, roll into glue and hold until dry
4. Cut off excess paper, then do another line of glue from top to bottom to secure this seam
5. Cut off excess paper, making sure to cut it on an even surface so it stand properly. This will just be trial and error.


Instrcutions:
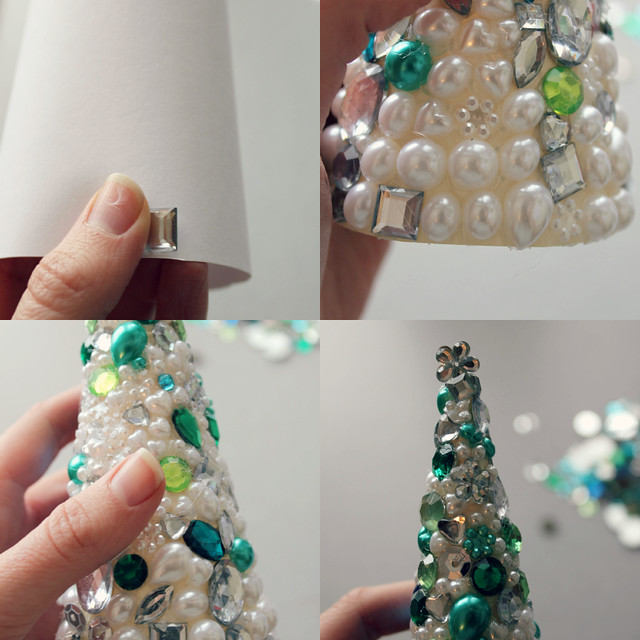
1. Start gluing on sequins and gems in desired color scheme (I was hoping to use mostly white, but realized after I started the bottom that I wouldn't have enough, so I started adding colorful pieces in between to spread them out a little more.
2. Keep gluing. Seriously, this is mostly just about covering the paper.
3. Add a little star piece to the top, and voila!


Pretty sequin tree!


Stay tuned for the next tree tutorial next Tuesday!