Showing posts with label weareboundtogether. Show all posts

Monday, May 9, 2016

Gardening Tips: Getting Rid of Lily Beetles

Gardeners rejoice! The snow is gone, the sun is shining and it's time to get back into the dirt! Perennials of all kinds are starting to pop up, and the lovely lily is among them. However, along with the lily comes the much dreaded lily beetle (Lilioceris lilii).

These nasty, though beautifully red coloured, bugs are voracious eaters. Both the adults and the larvae have hungry appetites and think nothing of devouring your lovely plants, leaving nothing for you to enjoy.


Now is the time to get down to business in controlling these pests. Ideally you will want to treat your plants when they start coming up to prevent the beetles from doing any damage. Realistically few of us remember to do something about it until we are visibly reminded of the problem.


The lily beetle is easily identifiable. It's brilliant red. Not the best camouflage. Unfortunately, as they are not native to North America, they also have no natural predators.


Photo by Andrea Davis of www.weareboundtogether.com

To get rid of these beetles you must first start by picking them off your plants. Gross I know, I'm the type of person who seriously will trap a moving thing in my house under a jar on the floor until my husband gets home to kill it. (Yes, I see you rolling your eyes). But sometimes a gardener has to do what a gardener has to do.


The best way to do this is fill a little jar part way with hot soapy water (dish soap is best). The soap changes the viscosity of the water so the beetle will not float on top or get out again. This way you can just hold the jar underneath and flick the little guys straight in and be done with it. Be quick though! I've read that these guys drop onto the ground when they sense something coming and only show their black undersides as a defense mechanism--however I did not experience this. For me, when they did drop, they bury themselves into the ground quick! I was able to quickly find one such run away, but another got away.


Once your plant is clear of the adults, it's time to get rid of the eggs and larvae.


Photo by Andrea Davis of www.weareboundtogether.com

The eggs on my plants were easy to spot, as they too were brilliantly reddish coloured. However they may also be brown in colour. Look for them on the undersides of your leaves. Check each and every one! You will need to scrap these off. As you can see in the photo I use latex gloves for this whole bug thing. This particular leaf had a lot of eggs, so I just picked the whole leaf off and added it to my soapy jar, but if you did this for every leaf your lily plant would be quite bare.


Much to my relief, there was of yet no larvae on my plants. In 1 -2 weeks the eggs would have hatched. The larvae apparently do the most damage to the plants as they feed for up to 24 days. They also cover themselves with their own feces for protection, so although they may be yellow, orange or brown, if you wait too long, they will be clumps of brown grossness. You will definitely want to wear gloves for removing these guys.


Photo by Andrea Davis of www.weareboundtogether.com

Next, I take the natural approach and rub each leaf and stem of the plant with neam oil. This is great to do on lilies that do not already have the bugs on them as a preventative measure. Neam is a natural oil, often used in soaps and lotions. It also stinks and has many properties that bugs don't like. I have used it successfully on my houseplants, diluted with soapy water, to treat aphids and trips. For this reason I always have some on hand. I used it full strength on these plants. Be sure to reapply after a good rain or especially if more bugs have returned to your plant and once again made it a nursery. In my experience, neam is fairly resistant to being washed off, but to be sure, water at the base of the plant rather than shower over the plant.


Be sure to keep monitoring your plants, at least weekly throughout the season to make sure the adults have not returned. Since these lilies are in my front yard, I just check them out of curiosity whenever I go out. So far so good! I treated these last week and so far I have found two beetles on two separate days, yet both were on the ground and not on the plant. Both were quickly disposed of. The first one was a few inches away and the other was a good half a foot away perched on a dead leaf, facing away from the plant, dreaming of a new home.


Post by Andrea of We Are Bound Together

Wednesday, February 11, 2015

WESTie Wednesday - featuring We Are Bound Together!

Welcome to WESTie Wednesday, where each week we better get to know a proud WEST member and their Etsy shop! Learn about Andrea and her Etsy shop We Are Bound Together!


"I've always been artsy/crafty, so I've always needed some sort of outlet for my creative talents. Several years ago I was diagnosed with a disease that made me more house-bound, but it also allowed me to devote more time to creating. I also have a strong desire to help others. I now dedicate my time and my talents to supporting those in need. All the proceeds of my shop go toward charities such as Voice of the Martyrs and Open Doors.

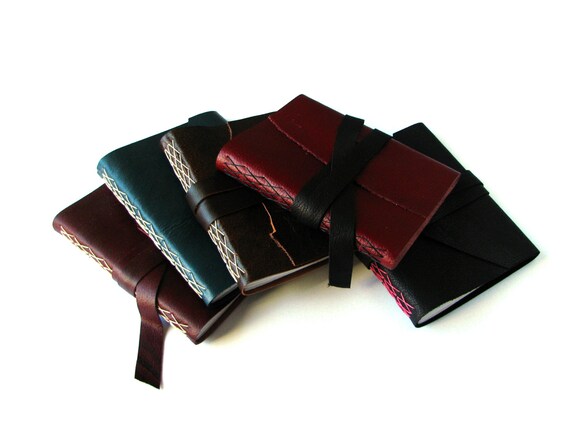
I love creating beautiful things, and put a lot of effort into my books. I enjoy the richness of working with leather and paper, the nostalgia of repurposing floppy disks and the funkiness of duct tape. It is so satisfying to sit back and admire a finished piece of work. A lot of what is in my shop has come out of custom requests. As with most things, I started small, then as people ask for items, I realize that there is a market for that sort of thing. Extra large journals and watercolour sketchbooks, as well as the leather card sleeves are some examples.."


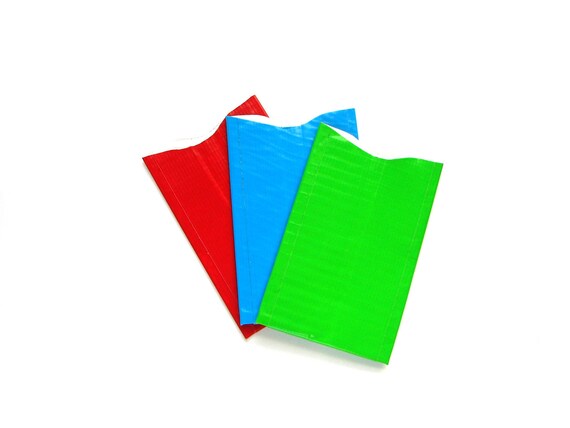
"I sell leather journals and sketchbooks, wood cover books, repurposed floppy disk notebooks, mini book keychains, leather card sleeves and RFID blocking card sleeves. Everything in my shop is hand sewn, even the leather card sleeves."


Want to see more? Be sure to check out Andrea on social media!

Thursday, April 17, 2014

Tutorial - Eggshell Candles Part 2

Last time I demonstrated how to make candles in eggshell halves. Today we're going to take a crack at making a candle using the whole egg. If you need a refresher on the materials needed, you can view that here.

Eggshell Candles # 2


We are going to use the whole shell of the egg for this. However we don't want the insides. With a pin, carefully poke holes in the top and bottom of the egg, enlarging the holes to about 1/4" wide.


Over a dish, blow into the egg. At first you will need to use a bit of force, but when the egg white/yoke starts flowing it will be much easier. Save the insides for future baking.


Rinse the egg shell well, and let dry completely. Cut wick to size, leaving lots of extra length. It is easier to trim the wick later than to work with wicks that are slightly too short. Prepare the wick like we did last time in Part 1, dipping the wick into the melted wax, cooling for a couple seconds, then pulling straight. Insert the wick into the eggshell: having a slightly stiff, straight wick make this a lot easier.


Cover the "pointy" end, or the side you want to be facing up, with your putty. Be careful not to break the egg shell; it is hollow now and much more fragile. It helps to roll the putty a bit to warm it up and easier to work with that way.


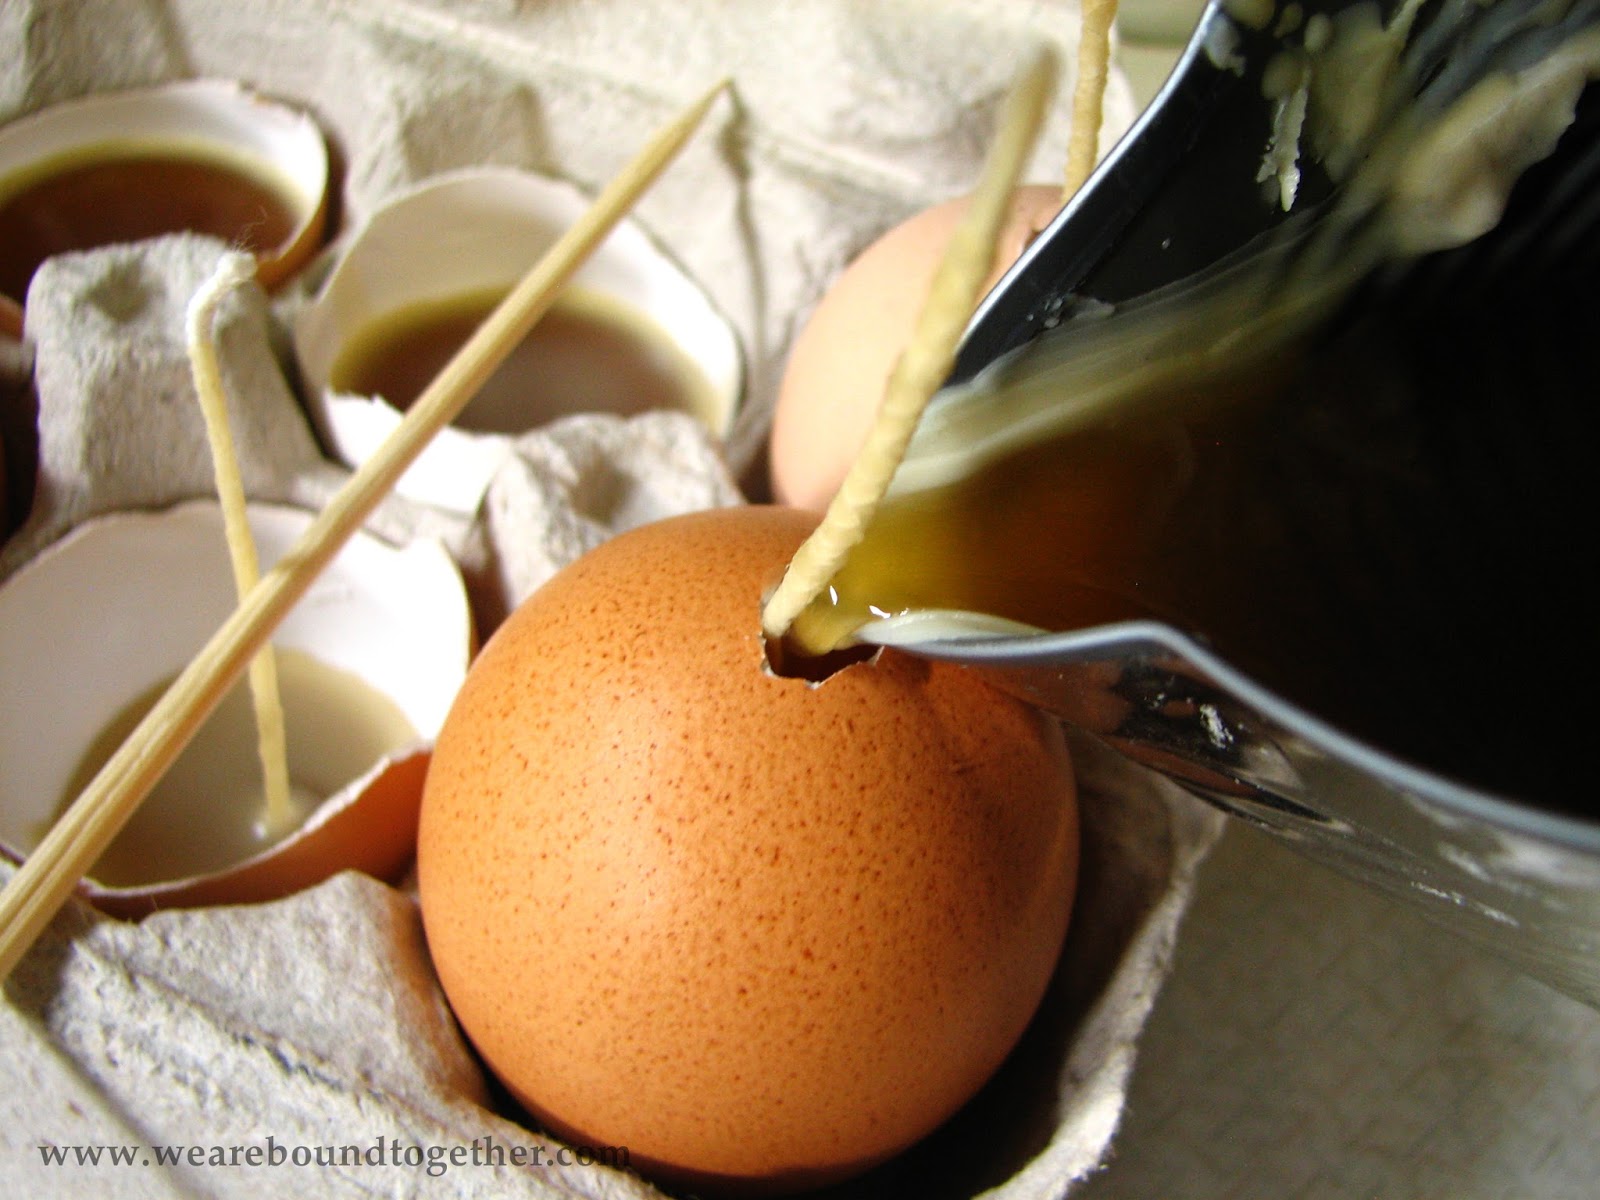
Place the egg, putty side down in your egg carton and fill with wax. You will want to make sure to fill the egg all in one go, not letting it cool in layers, or you will get ridges or lines in your final candle. Eggs hold a surprising amount of wax, but pour slowly because once it reaches the top it can make quite a mess.


Let cool completely. The egg itself will feel warm for quite a few hours afterwards. It is best to wait overnight to make sure all of the wax is hard. Once fully cooled, gently peel back the shell of the egg to reveal your candle.


If desired, you can flatten the bottom by trimming or rubbing on a hot pan, to allow it to stand on its own. Or you can display in eggcups. Be sure to trim wicks before lighting.


This post is written by Andrea Davis and originally appeared on www.weareboundtogether.com

Thursday, April 10, 2014

Thursday Etsy Tips - Creating a Coupon

Did you know that you can create coupon codes for your Etsy shop?

You sure can! Coupon codes are a great way to thank your customers, promote your shop, and appease a customer is a not-so-nice situation. There are many options for coupon codes, and you get to set the amounts. You can create up to 100 coupon codes, so you can create one to suit any need you may have.

To get started go to the drop down menu which appears from the "Your Shop:" link, located from the top right hand corner of most pages.


If you have never made a coupon you will be greeted with an offer to do so.


Click the Create New Coupon button to get started.


One very important thing to remember is that once you make a coupon code, you cannot edit it, and you can not make it again. For this reason, it is advisable not to delete any of your coupons after they have been made, you never know when you want to activate it again.

You can add personality to a code, to help people remember to use it such as the event (boxing day, thank you) and/or the amount offered.

If it as "Thank You Coupon" then you may check the corresponding box to get Etsy working for you in sending out the code automatically to each buyer upon purchase.

The Discount Type can be either free shipping, with the option to have it valid on domestic shipping only, percent discount off the entire subtotal (before shipping or tax), or a fixed discount, or dollar amount off the order.

You can further customize the coupon options by setting a minimum purchase that must be met before a coupon can be applied, encouraging the customer to order more.

The expiration date is just that. When they expire, the codes do not get deleted, but simply get set to "inactive".

Check active or inactive, depending on if you want to code to be available immediately or sometime in the future.

Click "add coupon" and your good to go!


All of your codes will be displayed on the Coupon Codes page. Here you can keep track of how many codes you have, discount type, the date they were created, how many times the code has been used, expiration date and their status.

To change the status of a code, simply click over Active or Inactive and a window will pop up giving you the option to do so.

You now have the ability to pass these savings onto your customers and promote your shop! Some ways to promote your coupon codes are on business cards, blogs, Facebook, Twitter or even in your shop welcome message.

Hope it brings some business your way!

For more Etsy tips see;

Getting Started (Opening a shop)
Setting up Shop (About Page)
Info and Appearance Section
List an Item
Shop Policies 
Shipping Profiles
Shop Selections 
Listings Manager Part 1 Active Listings 
Listings Manager Part 2
Etsy Mini

Andrea Davis resides in Winnipeg. A proud member of WEST for 2 years and the owner of "We Are Bound Together", a shop where 100% of the proceeds go to charities. Check out her shop, or blog.

Thursday, March 27, 2014

Thursday Etsy Tips: Etsy Mini

An Etsy Mini allows you to display a sampling of your shop or favoured items on your own website or blog. It is an easy way to advertise your products. The images are clickable and take the viewer straight to the listings.

To make your own Etsy Mini, click Listings Manager from the drop down menu connected with Your Shop, located in the top right corner of any page.


On the left hand column, locate the Promote section, near the bottom. Click Etsy Mini.


Now you are able to customize how you would like the Etsy Mini to appear.


You can choose to display either items from your shop or items from your favourites. If you are going with items from your shop, you may click the box to show up to 4 featured items first, so you can have control over what is displayed on the top row. Otherwise the order will coincide with the most recent items added to your shop.

The size (thumbnail or gallery) and the number of columns and rows are all personal preference and can be changed depending on what works best for you.

You can play around with these preferences and see a Preview to determine what you like best. Once you are happy with your choice copy the code provided to use on your website or blog.


For more Etsy tips see;

Getting Started (Opening a shop)
Setting up Shop (About Page)
Info and Appearance Section
List an Item
Shop Policies 
Shipping Profiles
Shop Selections 
Listings Manager Part 1 Active Listings 
Listings Manager Part 2

Andrea Davis resides in Winnipeg. A proud member of WEST for 2 years and the owner of "We Are Bound Together", a shop where 100% of the proceeds go to charities. Check out her shop, or blog.

Saturday, June 1, 2013

Tutorial: How to Dye Fabrics using Fiber Reactive Dyes

Making your own diapers, cloth napkins, quilting or found a great item at a thrift store but hate the colour? Make it the colour you want with Fiber Reactive dye!

Fiber Reactive dyes are used for natural fibers such as cotton, silk, wool, hemp and bamboo. Fiber Reactive dyes will not dye synthetics such as polyester. For example if you have a shirt you want to dye, and the thread stitching it together is polyester, then the thread will not dye. This may be used to your advantage so keep this in mind when choosing your colour.

 This shirt was originally white with pink stitching, the embroidery wasn’t affected by the dye, producing a beautiful result.

As the name suggests, the dye reacts with the fibers rather than simply coating the material, making the final outcome colour-fast and vibrant.

Tools

Natural fabric of choice 
Synthrapol or Dharma Professional Textile Detergent
Fiber Reactive Dye (I am using Dharma Fiber Reactive Procion Dyes)
Soda Ash
Non-Iodized Salt (as it's a fair bit of salt, I buy mine at Bulk Barn)
Urea (optional)

Bucket/tub
Rubber gloves
Face mask (when measuring powder)
Old clothes
Measuring utensils (not to be used for food afterwards)


You can find the chemicals online, which get a bit expensive with shipping. If you know a place in Winnipeg to get them be sure to let me know!

Recipe


The recipe is dependent on how much (weight) of fabric you are dying. Increase recipe in proportion to the weight of your recipe (double for 1 lb, etc).

1/2 lb fabric
1/2 Tbsp dye (may need to be doubled, depending on colour)
1 1/2 g water (5.68L or 24 cups)
1 1/2 cup non-iodized salt
1/6 cup soda ash (2 Tbsp + 2 tsp)
1 Tbsp Urea (optional)


Note on Safety


Fiber Reactive dyes are non-toxic. However it is recommended to wear a mask when mixing the dye as it is a fine powder and should not be inhaled. Common sense will go a long way to making sure you are safe when dying fabric. Wear old clothing you wouldn't mind getting a splash or two of dye on. Wear rubber gloves to avoid dying your skin. Use separate utensils than those you cook/eat with.


Get Ready to Dye!


Weigh your fabric before prewashing. You will need this information when determining how much of everything to comprise your dye bath. I find a kitchen scale works best.


Prewash: This is a very important step. Do not skip unless you want a streaky or blotchy dye job. This step removes dirt, and more importantly, grease from the item to be dyed. Even grease from your fingers can cause the dye to react differently on your fabric. The dye wants to adhere to the fabric, but it won't if something's coating it.

Use hot water in your cycle. There are different recommendations as to how much Synthrapol/Textile Detergent to use. This ranges from 1/4 cup per machine load (1/8 cup for front loading). This is overkill if you are just dying one or two garments. Others recommend 1/2 tsp per 1 lb of fabric.

Personally I don't measure. I eyeball what seems like 1 tsp of Dharma's Textile Detergent. I use totally natural laundry soaps in my regular laundry, so this suds quite a lot more than what I'm used to. I don't want my final outcome to be splotchy so I do compromise and use the Textile Detergent which isn't as natural as I would like, but it is more eco-friendly than Synthrapol.

 (It's recommended to have your fabric still wet when adding it to the dye bath, but I've done it both ways without much difference. But I wanted a piece that could be a bit splotchy and not matter.)

...and Action!


Now it's time to make some colour!


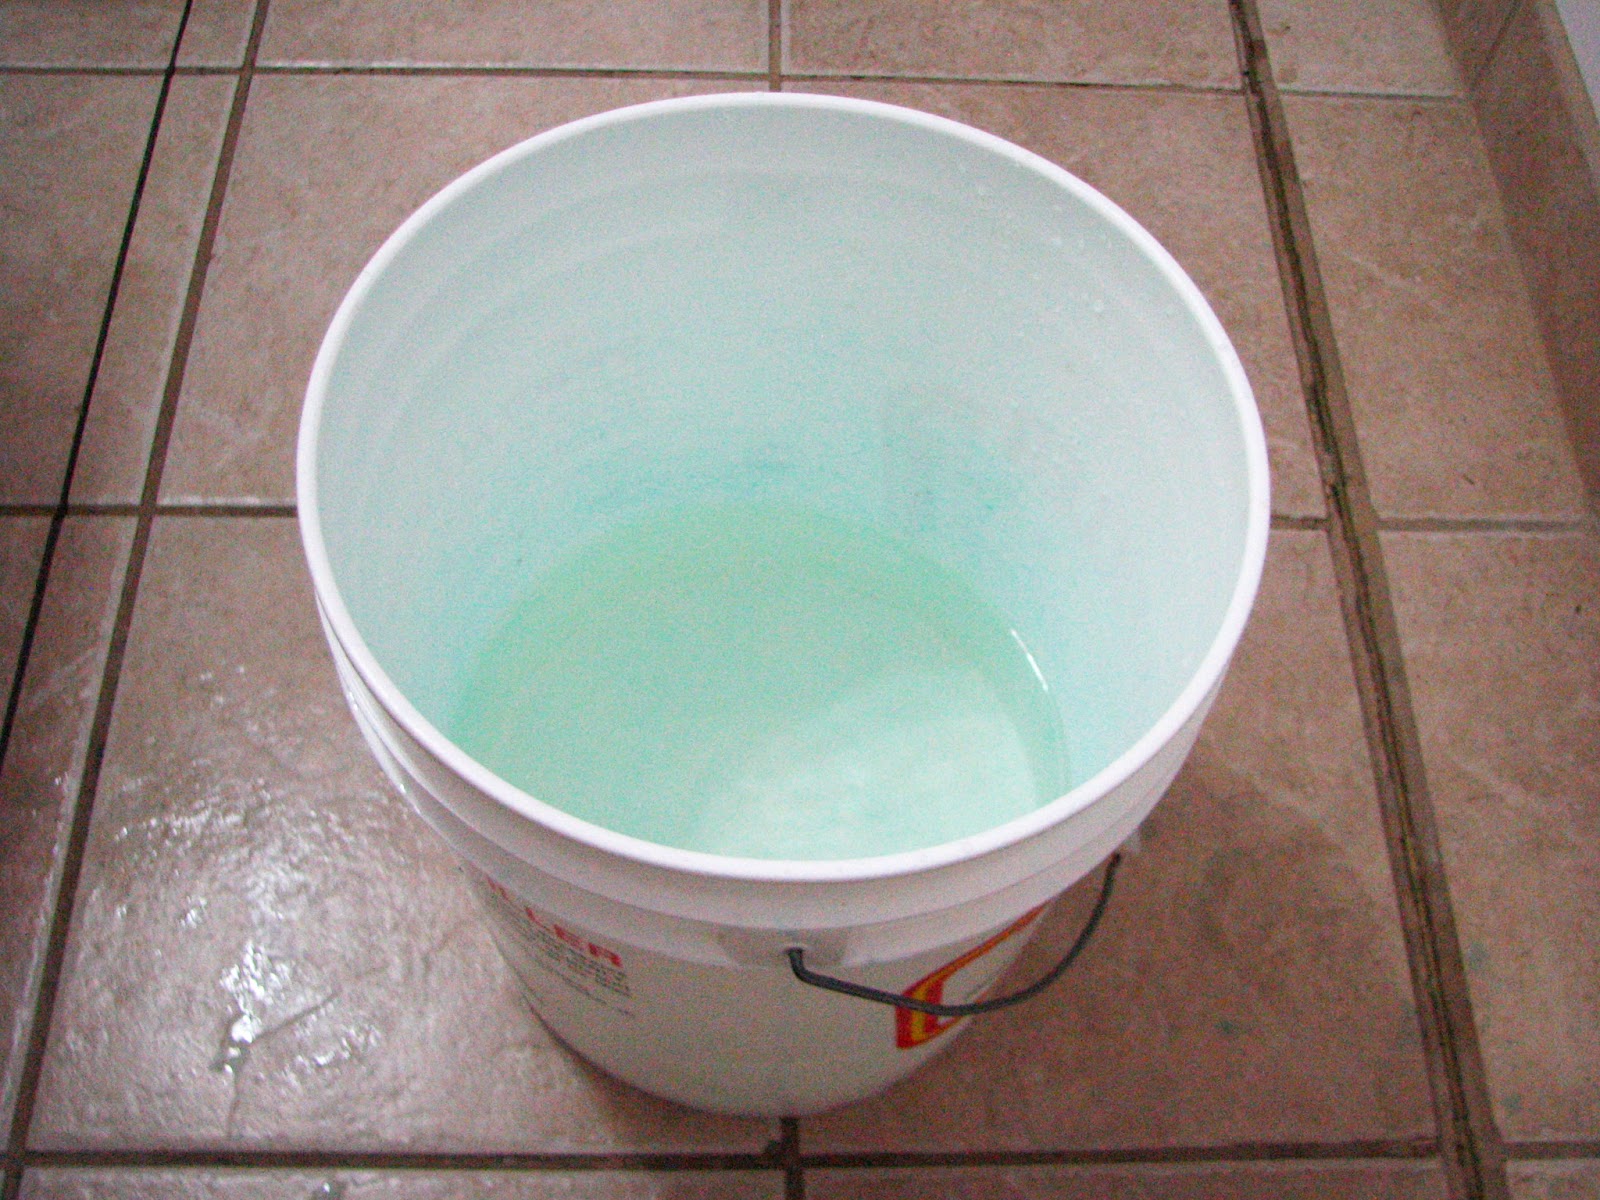
Fill bucket/tub with measured water.


Dissolve dye into some warm water in a separate container. Some powders mix into water a lot better when done with a minimal amount of water first, then slowly increasing the water content. This is one of them. At first, add just enough to make it a gravy consistency, then slowly add about a cup's worth of warm* (think lukewarm) water.

*lesson learned: do not use hot water at this stage. As I found out during one batch that hot water will react differently to the dye and may cause it to become a different colour (like red becomes grey). Good thing you can dye the same fabric over again.*


Add Urea at this stage if using. Urea is optional, but it helps to dissolve the dye. Reds are often more difficult to dissolve and can leave "freckles". Add about 1 Tbsp in the 1 cup of warm water mentioned above.


Add the dissolved dye to the tub of water.


Add the measured salt to the tub and stir to dissolve.

...now the fun part...


Add the fabric to the dye bath.

Ohhhhh.....Ahhhhhhh. First hint of what is to come.


Stir the fabric gently for 20 min. The first time I dyed fabric I stirred constantly for 20 min. Really, this isn't necessary. But you can't really be doing a whole lot of other things during this time because you do need to make sure to stir the bath often.

I found the best way for "stirring" was just to use my rubber gloves and gently mix it with my hands.

*Dying in a washing machine can seem easier, but it only works when you have enough fabric to make a load. Simply increasing the water level will dilute your dye. I've tried dying in a machine and found it was actually easier to simply use a bucket after all. See note at bottom of post for more on this.*


In a separate container dissolve measured soda ash with warm water.


Slowly, over 15 minutes, add soda ash mixture to the dye bath while stirring. This is your dye fixative. Do not pour on the fabric or you will get blotches. I gently push the fabric to one side (or even lift it out of the water) then pour a bit of the mixture in, stir it in, then mix with the fabric. I can't say I've ever been able to stretch it out over 15 minutes, but I get close to 10.

Continue stirring as before for 30 min or up to 1 hour if you would like a deeper colour. This is the time when the colour gets fixed to the material (with the help of the soda ash) so the longer it sets, the deeper the colour. 


Now for the work...


Personally this is the hardest part of dying...rinsing.


Rinse your fabric in cool water until it runs clear. Yes, this can take a long time. I rinse it for a while in the bath tub first to get rid of some of the dye, but really it never comes clear that way, just enough so that the bulk of the dye gets rinsed off. Then into the washing machine you go! And it takes a few cycles this way too before it becomes clear (which is why I like to rinse in the bath tub first as to not waste so much water).

Once the material rinses clear, one final wash cycle is necessary.

Use your Textile Detergent or Synthrapol once more for this load with hot water. This will wash off the final remnants of dye that didn't adhere to the fabric. Don't worry that you are rinsing away all your hard work. This is just the remaining dye, the fabric will only absorb so much.  Believe me, you want to get it rinsed off now, rather than with your regular laundry. For some dark dyes you may want to repeat this step.


Lovely Colour!


Now your fabric is ready for wearing, sewing or whatever you had in mind!

*Note on Machine dying*

It is super tempting to think it will be easier to dye in a washing machine. It does the stirring for you after all. But I've found that it's not necessarily the case. I did try one load this way and from now on I'm going to stick to my bucket.

Keep in mind I don't dye that much fabric all at once. Using the washing machine would indeed be a good option if you have that much to dye the same colour. I don't. It's simply a pain. Each machine is different, so maybe yours is more dye friendly, but...

Make sure your dye doesn't go down the drain! You will need to reset the machine's agitate cycle multiple times. When I tried this, the machine I had at the time didn't drain if the lid was up, but that does create a lot of splashes to clean up after. I also found it was as much babysitting as stirring a bucket every few minutes (plus I had to run down to the basement each time). You do still need to reach in and unwind your fabric occasionally too.

You must keep in mind the proportion of water to all the other ingredients. It's one thing to go and reset your machine multiple times, but I found that the amount of water I needed was less than the lowest level of water and my machine kept thinking I should have more! Simply filling your machine with the setting doesn't give you an accurate measure of water. If you know how much each level setting gives you this may not be an issue for you as you can calculate your ingredients accordingly.

Sunday, April 28, 2013

Who will be at the WEST Sale III? pt.3

Who will be at the WEST Sale III? Look forward to meeting the following WESTies with their fantastic handmade & vintage items, come May 4th!


From top left, you may find..

VintageBettyClothing - Skirt
Smash Knits - Headband
Monkeybusinesscardco - Mega Monkey
PeriwinkleDzyns - Necklace
EmmsGems - Recycled Glass Bracelet
Oneplusonedesign - Art Print
Secret Jewelry - Ear Cuff Earrings
SogaSoap - Laundry Stain Stick
HeidiandseekBoutique - Lace Infinity Scarf
ladylikeness - Vintage Boots
weareboundtogether - Duct Tape Journal
marathon1981 - Mini Sloth
Real Swanky - Polka Dot Skirt


Stay tuned for Part 4 of our vendor features in upcoming posts!

RSVP to the WEST Handmade & Vintage Sale III here!

Friday, March 8, 2013

WEST February/March Design Challenge Results

The WEST Design Challenge for February/March was based on the Pantone colour of the year, Emerald Green. And did WEST members rise up to this challenge?

Yes they did! I think this was a new record, with 10 entries!

Here are all of this month's entries, in order of submission:

Lego Inspired Building Block Slippers for Children by Magination

Wall or Table Planters With Gold Metal Lyre Harp Holders Emerald Green Ceramic Pair Set of Two by BitchinKitschKitchen

Green Striped Malachite Earrings with Silver Wire by KristasJewellery

Pantone Emerald Green Nightie / Cami . 

studded . sheer spider web tulle yoke by realswanky

 
Caitlin of realswanky notes: In the spirit of Pantone's Colour of the Year, St Patrick's Day, AND a massive sale at the fabric store.. I put together this nightie with sheer spiderweb tulle yoking! I lucked out and came across this lovely green material perfect for this project. Black English cone studs finish the edges of the shoulders with a spooky bang.

Fractal Necklace - Sierpinski Triangle in Apple, Copper and Emerald Green 

by DragonNerd


Mike and Shaunna of DragonNerd absolutely love how this Emerald green pairs with copper wire, so I just knew it had to incorporate copper in some way. I have a couple of options for combining wires, and decided to do a trio of colours: Emerald, Copper and my new Apple Green to join together in a Sierpinski Triangle necklace. The colours feel fresh and warm to me.

Highroads Dictionary Rebound Journal Recycled Book by PrairiePeasant

   
PrairiePeasant was inspired by a small piece of paste paper made several years ago, and thought it would make good endpapers in a journal. (Paste paper is kind of like finger painting for adults!) From there, I looked through all my books for any green books that might go with the paper, and found this vintage dictionary. 

Emerald Pot of Gold Large Round Coiled Basket / Bowl / Pot 

by PrairieThreads


PrairieThreads looked through all her green fabric and found some pieces of a men's cotton shirt. I like the way plaid fabrics look when they are made into coiled baskets, so that's what I decided to make. I wanted to try something different, so I made a ripply lace type edge at the top.

Ear Cuff Chain and Earrings - Emerald - 

Colour of the Year by SecretJewelry


Christa from SecretJewelry notes: After looking at a few color combo's for the Pantone 17-5641 color of the year, I knew exactly what I was going to do...Emerald/Teal tones and white.. What a perfect combo!

Black Leather Card Holder with Emerald Green Lining by WeAreBoundTogether

Emerald Green Textured Mug Cozy by AdorablesbyAlisia

 For Alisia of AdorablesbyAlisia, this was a different direction in both design and crochet technique. It was fun to try something new!

We'd love to hear from you. Aren't these fabulous emerald items? Which is your favourite?

Thanks to each participant this month! Well done team! 

Friday, October 5, 2012